INCREASING OR DECREASING TRAVEL ON THE 4060
The 4060 frame is available in LT (long travel) and ST (short travel) configuration. Because we designed the 4060 to be versatile and easily configurable, you can go from LT to ST and ST to LT. How? Easy! Simply swap the forks and rear shock and make use of the frame’s geometry adjustment features.
LT or ST, which is best?
It’s a bit like pizza. There is no best, but there is the perfect flavor for you! If your trails are pretty smooth with a lot of tight turns and a mellow gradient, then the shorter travel ST will feel more involving and dynamic. On the other hand, if your trails are steep, loose, and rough, then the extra travel of the LT will help you tame the gnar and stay in control.
With the 4060 frame you get to have the best of both worlds. So, if your local riding is forest singletrack you can run it in ST mode. Want to go on a trip to the mountains? Just go large in LT mode. Like the feel of a shorter travel bike but want the confidence that comes with the geometry of a longer travel bike? You can do that too! One frame, three bikes. Neat, huh?
What’s the catch?
There isn’t one. That’s right, no catch. The only thing we’d say is that running the 4060 LT with the flip-chip in the ST setting may result in the tire buzzing the back of the seatube, so don’t do that.
How do I turn my 4060 ST into an LT (140mm to 160mm travel)?
To go from ST to LT you will need to swap your fork to one with 170mm travel and change your shock to one with a 62.5mm stroke. You’ll also need to adjust the frame’s geometry by setting the angle-adjust headset to the slack position and putting the flip-chip in the LT position.
What do I need?
Going large requires the following components and tools.
- 170mm travel fork with an axle to crown measurement of 577-586mm
- Shock with a 205mm eye to eye length and 62.5mm stroke
- Torque wrench with 5mm hex bits
- Headset cup removal tool
- Rubber hammer
- Headset press
- PTFE Grease
Roger that! What next?
First up we’ll make the necessary changes to the front of the bike, replacing the fork and putting the angle-adjust headset in the LT position.
- Place the bike securely in a work-stand ensuring you have space to work around the bike.
- Shift the chain to the smallest cog on the cassette.
- Push the lower cage of the rear mech forward to take tension out of the chain. Use the Cage Lock button on the SRAM rear mech to lock the cage in place.
- Undo the rear axle using a wrench and 5mm hex bit.
- Remove the rear wheel.
- Move to the front of the bike and remove the front wheel.
- Remove the front brake caliper from the forks along with the brake hose guide.
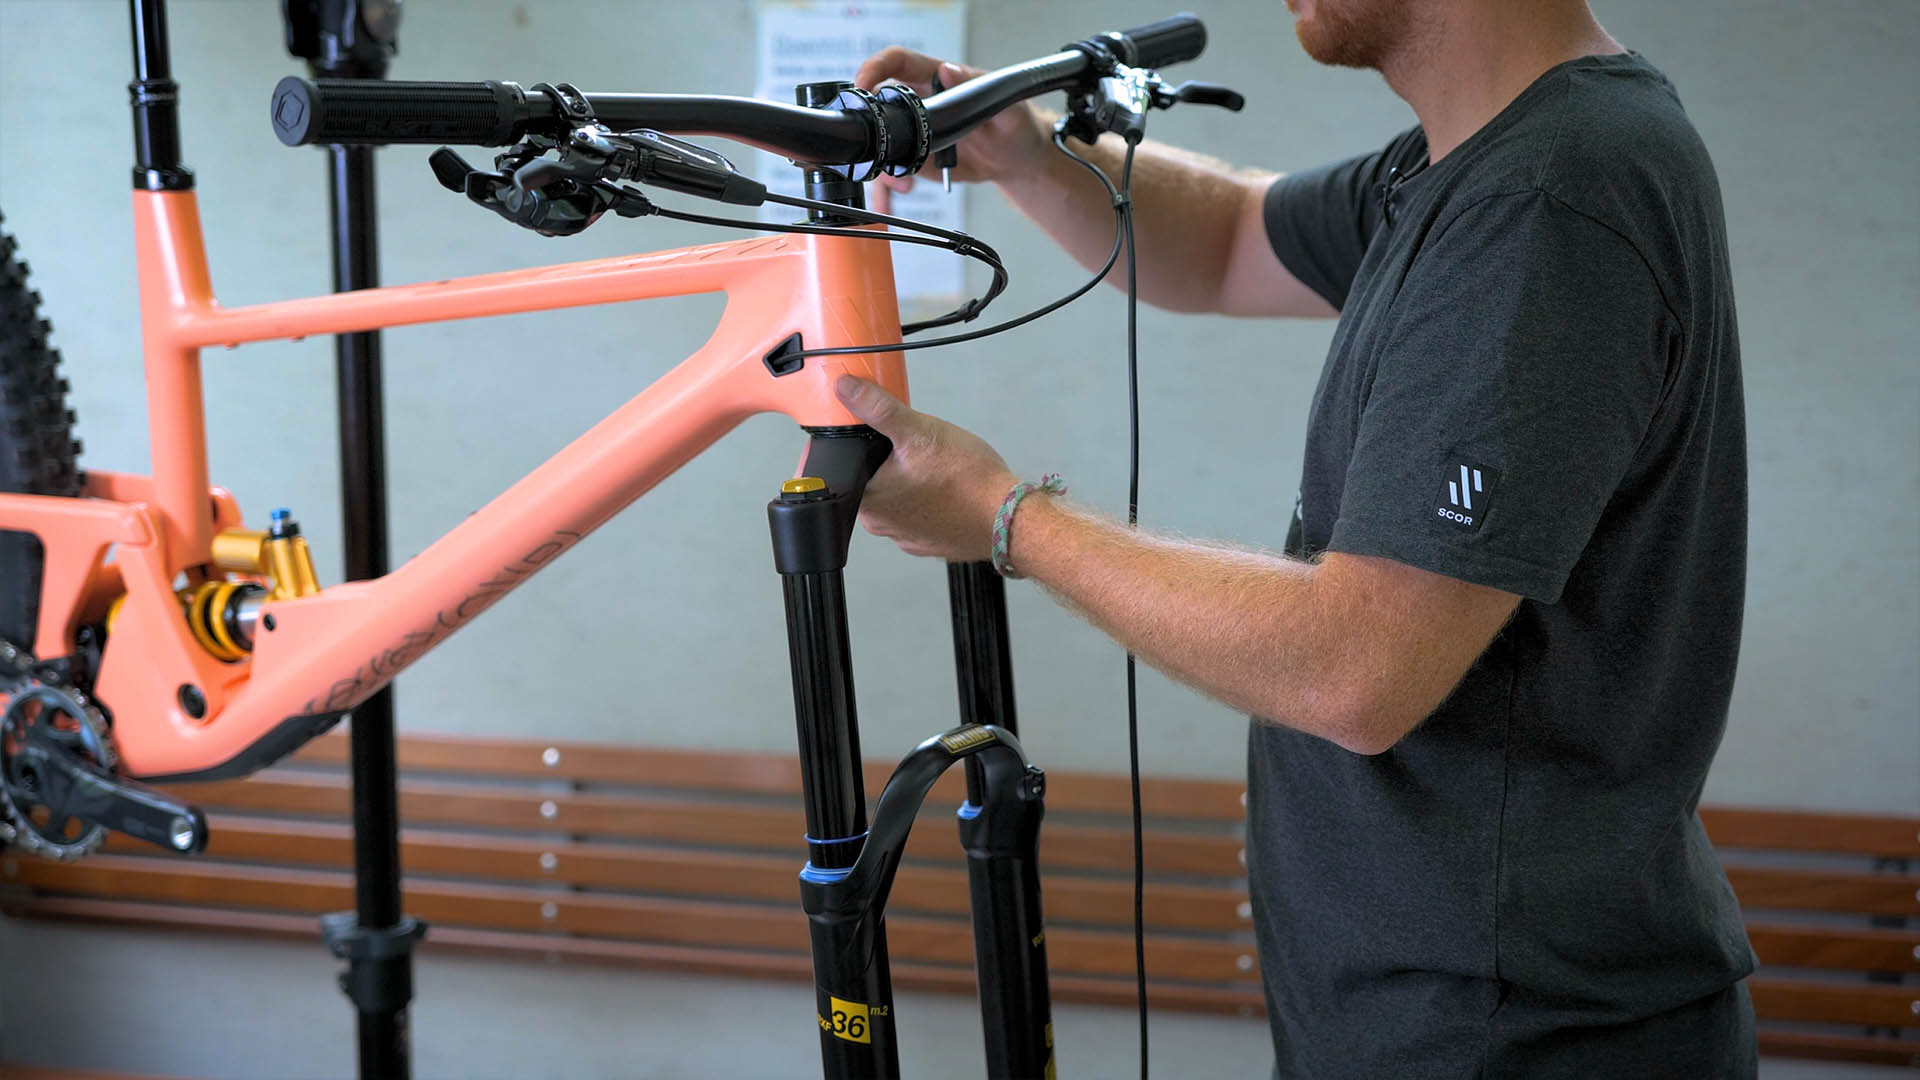
- Loosen the stem’s steerer bolts.
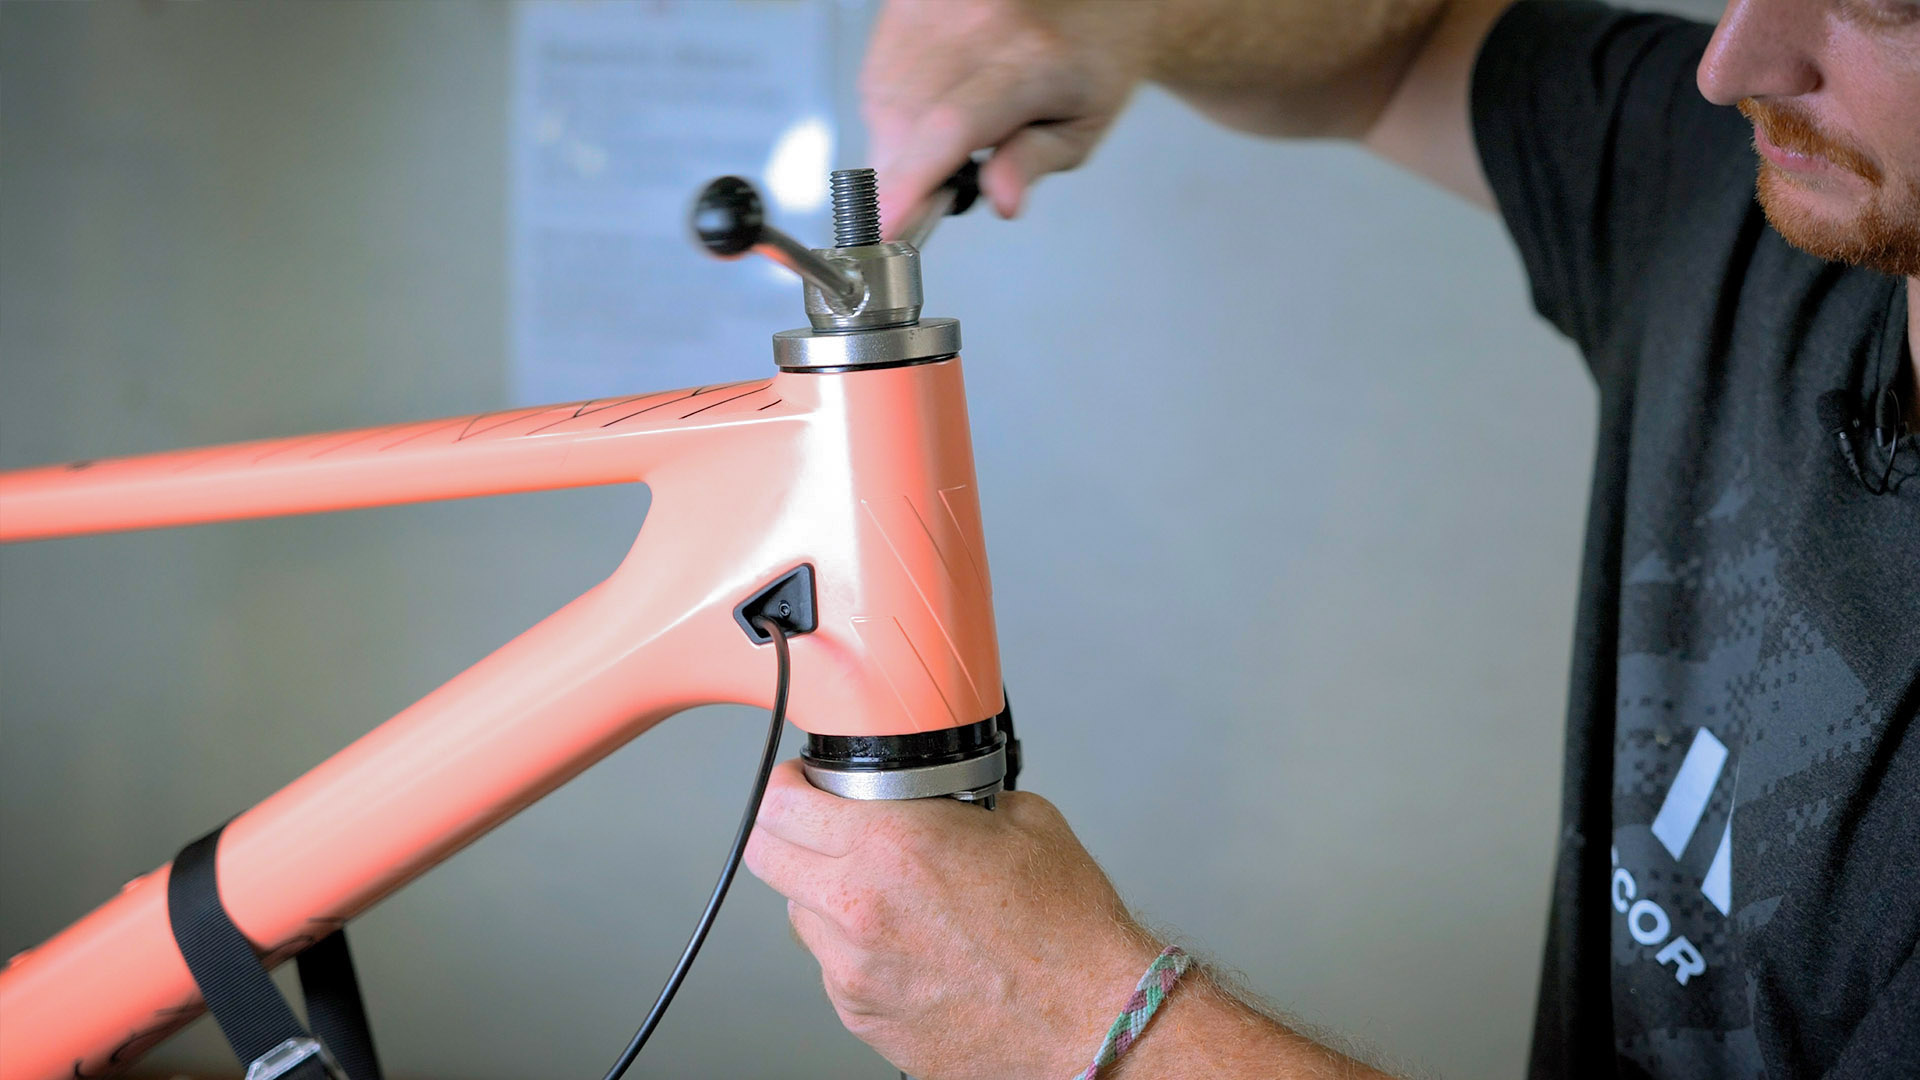
- Whilst supporting the fork in one hand carefully loosen and then remove the headset top cap.
- Remove the stem, headset spacers, top cone and compression ring.
- Slowly remove the fork from the frame being careful not to lose any parts of the headset.
- Remove the headset bearings.
- Note the location of the notch in both headset cups. In its current ST setting the notches will be facing backwards. To put the frame into its LT setting with a slacker head-angle the headset cups will need to be rotated, so that the notches face forwards.
- Use a headset removal tool to gently knock out both headset cups.
- Apply a thin layer of grease to the inside of the headtube.
- Use a headset press to carefully reinstall the headset cups one at a time with the notch facing forwards.
- Apply a thin layer of grease to the inside of the headset cups and the headset bearings.
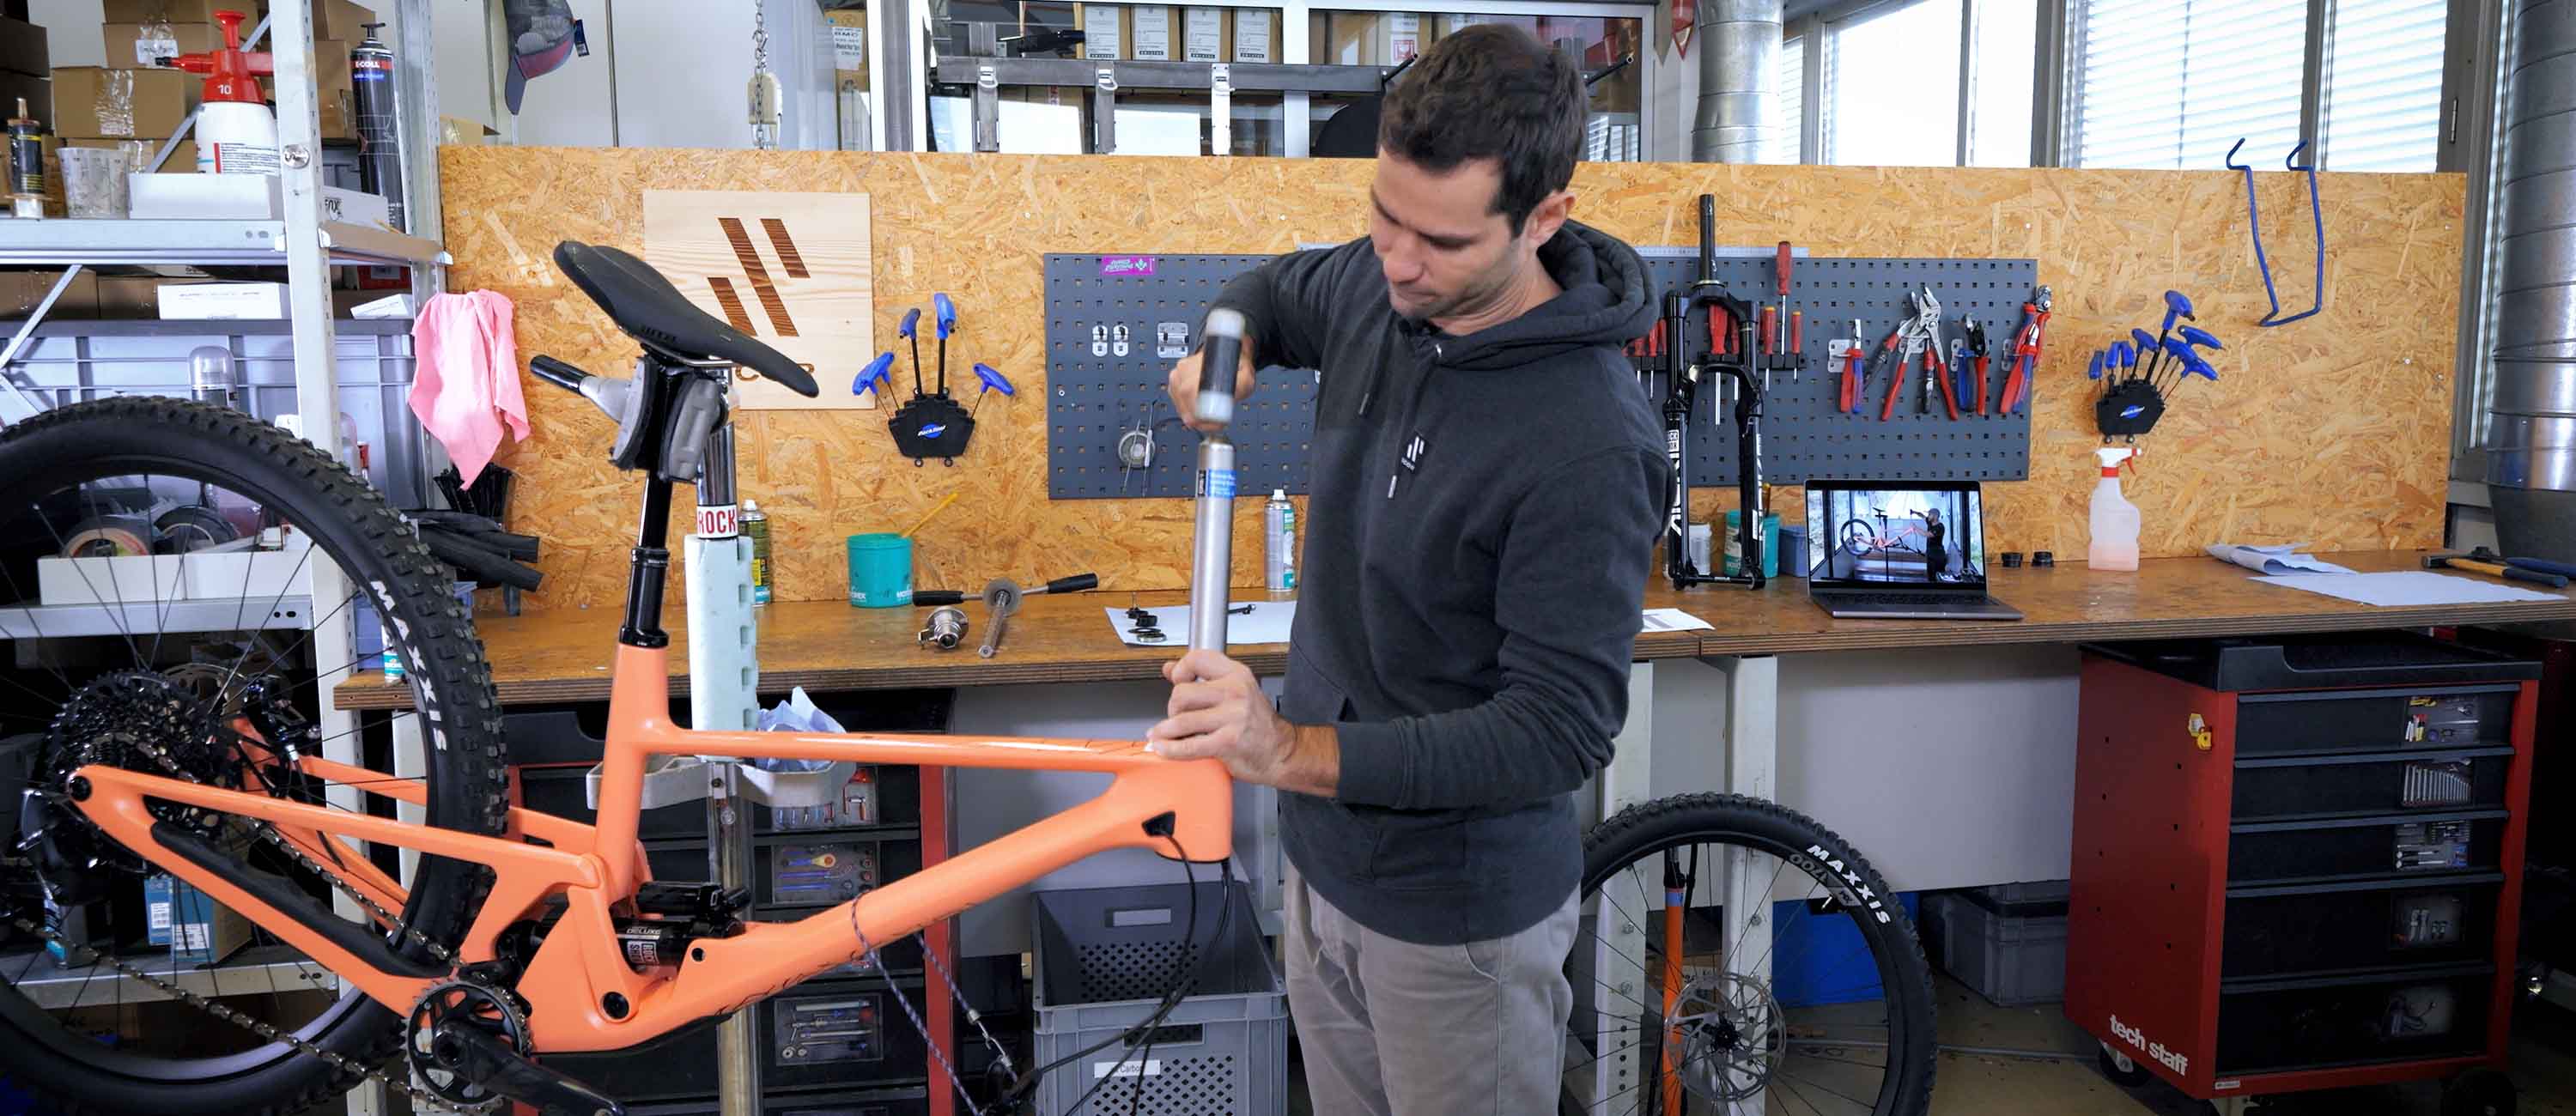
- Swap the crown race from the forks you’ve removed, to the new forks.
- Reinstall the rest of the headset components, spacers, the 170mm travel forks, stem and headset top cap and front brake caliper.
Now we need to make changes to the rear of the bike, swapping out the shock for one with a longer stroke and adjusting the flip-chip.
- To do this, use a wrench and a 5mm hex bit to remove the bolt that runs through the flip-chip.
- Supporting the subframe in one hand, remove the lower shock mount.
- Remove and rotate the flip-chip so that the line is above the LT setting on the frame.
- Use a wrench with a 5mm hex bit to remove the upper shock mount bolts.
- Remove the shock.
- Apply a light layer of grease to the upper shock mount bolts and install the longer stroke shock.
- Tighten the upper shock bolts to 8Nm using a torque wrench.
- Lightly grease the lower shock mount and reinstall it through the shock and flip-chip.
- Tighten to 8Nm.
Time to reinstall the rear wheel.
- Lightly grease the rear axle.
- Insert the wheel into the frame and slide the axle through the frame and wheel, ensuring the chain is correctly routed over the cassette.
- Tighten the rear axle to 14Nm using a torque wrench.
- Press the Cage Lock button to release the lower cage of the rear mech.
Boom! Your little ST has now grown into an adult LT! Now, go and make good use of all that extra travel.
How do I turn my 4060 LT into an ST (160mm to 140mm travel)?
The short version? Swap your fork for one with 150mm travel (although you might just have to change the air shaft) and change your shock to one with a shorter 57.5mm stroke (a suspension tuner may be able to reduce the stroke of your shock for you). You’ll also need to adjust the frame’s geometry by setting the flip-chip into the ST position. Whether you put the angle-adjust headset in the steeper ST position is up to you. You might prefer to keep it in the slacker LT position. We are all different. Like pizzas.
What do I need?
Downsizing requires the following components and tools.
- 150mm travel fork with an axle to crown measurement of 557-561mm
- Shock with a 205mm eye to eye length and 57.5mm stroke
- Torque wrench with 5mm hex bits
- PTFE Grease
Additionally, you might need a headset cup removal tool, rubber hammer and headset press, if you decide to change the position of the angle-adjust headset.
Components and tools sorted! What’s next?
First things first. Let’s make the necessary changes to the front of the bike, replacing the fork and putting the angle-adjust headset in the steeper ST position. If you’d rather leave the headset as it is, in the slacker LT position, that’s cool.
- Place the bike securely in a work-stand ensuring you have space to work around the bike.
- Shift the chain to the smallest cog on the cassette.
- Push the lower cage of the rear mech forward to take tension out of the chain. Use the Cage Lock button on the SRAM rear mech to lock the cage in place.
- Undo the rear axle using a wrench and 5mm mm hex bit.
- Remove the rear wheel.
- Move to the front of the bike and remove the front wheel.
- Remove the front brake caliper from the forks along with the brake hose guide.
- Loosen the stem’s steerer bolts.
- Whilst supporting the fork in one hand carefully loosen and then remove the headset top cap.
- Remove the stem, headset spacers, top cone, and compression ring.
- Slowly remove the fork from the frame being careful not to lose any parts of the headset.
- Remove the headset bearings.
Want to keep your frame in the slacker LT setting? Go on, skip to step 17. Want to put your bike in the steeper ST setting? Continue with steps 13 - 16.
- Note the location of the notch in both headset cups. In its current LT setting the notches will be facing forwards. To put the frame into its ST setting with a steeper head-angle the headset cups will need to be rotated so that the notches face backwards.
- Use a headset removal tool to gently knock out both headset cups.
- Apply a thin layer of grease to the inside of the headtube.
- Use a headset press to carefully reinstall the headset cups one at a time with the notch facing forwards.
- Apply a thin layer of grease to the inside of the headset cups and the headset bearings.
- Swap the crown race from the forks you’ve removed to the new forks.
- Reinstall the rest of the headset components, spacers, the 150mm travel forks, stem and headset top cap and front brake caliper.
Now we need to make changes to the rear of the bike, swapping out the shock for one with a shorter stroke and adjusting the flip-chip.
- To do this, use a wrench and a 5mm hex bit to remove the bolt that runs through the flip-chip.
- Supporting the subframe in one hand, remove the lower shock mount.
- Remove and rotate the flip-chip so that the line is above the ST setting on the frame.
- Use a wrench with a 5mm hex bit to remove the upper shock mount bolts.
- Remove the shock.
- Apply a light layer of grease to the upper shock mount bolts and install the shorter stroke shock.
- Tighten the upper shock bolts to 8Nm using a torque wrench.
- Lightly grease the shock mount and reinstall it through the shock and flip-chip.
- Tighten to 8Nm.
Time to reinstall the rear wheel.
- Lightly grease the rear axle.
- Insert the wheel into the frame and slide the axle through the frame and wheel, ensuring the chain is correctly routed over the cassette.
- Tighten the rear axle to 14Nm using a torque wrench.
- Press the Cage Lock button to release the lower cage of the rear mech.
Is less more? Time to find out!