HOW TO EASILY CHANGE YOUR MTB TIRE FROM A TRADITIONAL TUBE SETUP TO TUBELESS
If you're tired of punctures ruining your rides, then we've got some good news for you. By converting your wheels to a tubeless setup, you'll minimize punctures, increase your tires' grip, and enjoy a better ride quality overall. We've teamed up with wheel experts DT Swiss to show you why and how to make the switch to tubeless.
WHAT IS TUBELESS?
As the name suggests, going tubeless means ditching the inner tubes inside your tires. Instead, the tire itself creates an airtight seal against the rim. To make this possible, you'll need tubeless-specific tires, valves, rim tape, and sealant.
WHY SHOULD YOU GO TUBELESS?
There are several benefits to switching to a tubeless setup, as compared to traditional tire-tube combos. Firstly, you can run lower pressures without worrying about pinch or snakebite punctures. No real snakes are involved, but when the rim pinches the inner tube against the tire, it creates two small holes that resemble snakebites. Snakes on the trail! Not really though. But going tubeless means no more snakebites! Yay.
Other types of punctures are also less likely. The tubeless sealant, which is like a runny glue, self-seals small cuts and punctures from thorns and sharp rocks. You might not even notice you had a small puncture until after your ride.
Going tubeless also improves your ride quality. Lower tire pressures increase grip and comfort, while eliminating the tube reduces friction between the tire and the wheel, leading to lower rolling resistance and a smoother ride.
So, why not go tubeless?

HOW TO GO TUBELESS
Our SCOR bikes come with tubeless-ready wheels and tires, making the switch super easy. All you'll need is a bottle of tire sealant and a pair of tubeless valves. If you're building your own bike, you might also need to get some rim tape.
Here's what you'll need:
- Tire levers
- Brake cleaner/isopropyl alcohol
- Tubeless rim tape
- Tubeless valves
- Tubeless sealant
- A good track pump

- To remove the wheels from your bike, start by deflating the inner tube and removing the tires and tube. If you need to unseat the tire from the rim, use a lever, but be careful not to pinch the tube.
- If you need to fit tubeless rim tape, clean and degrease the rim bed first using brake cleaner or isopropyl alcohol.
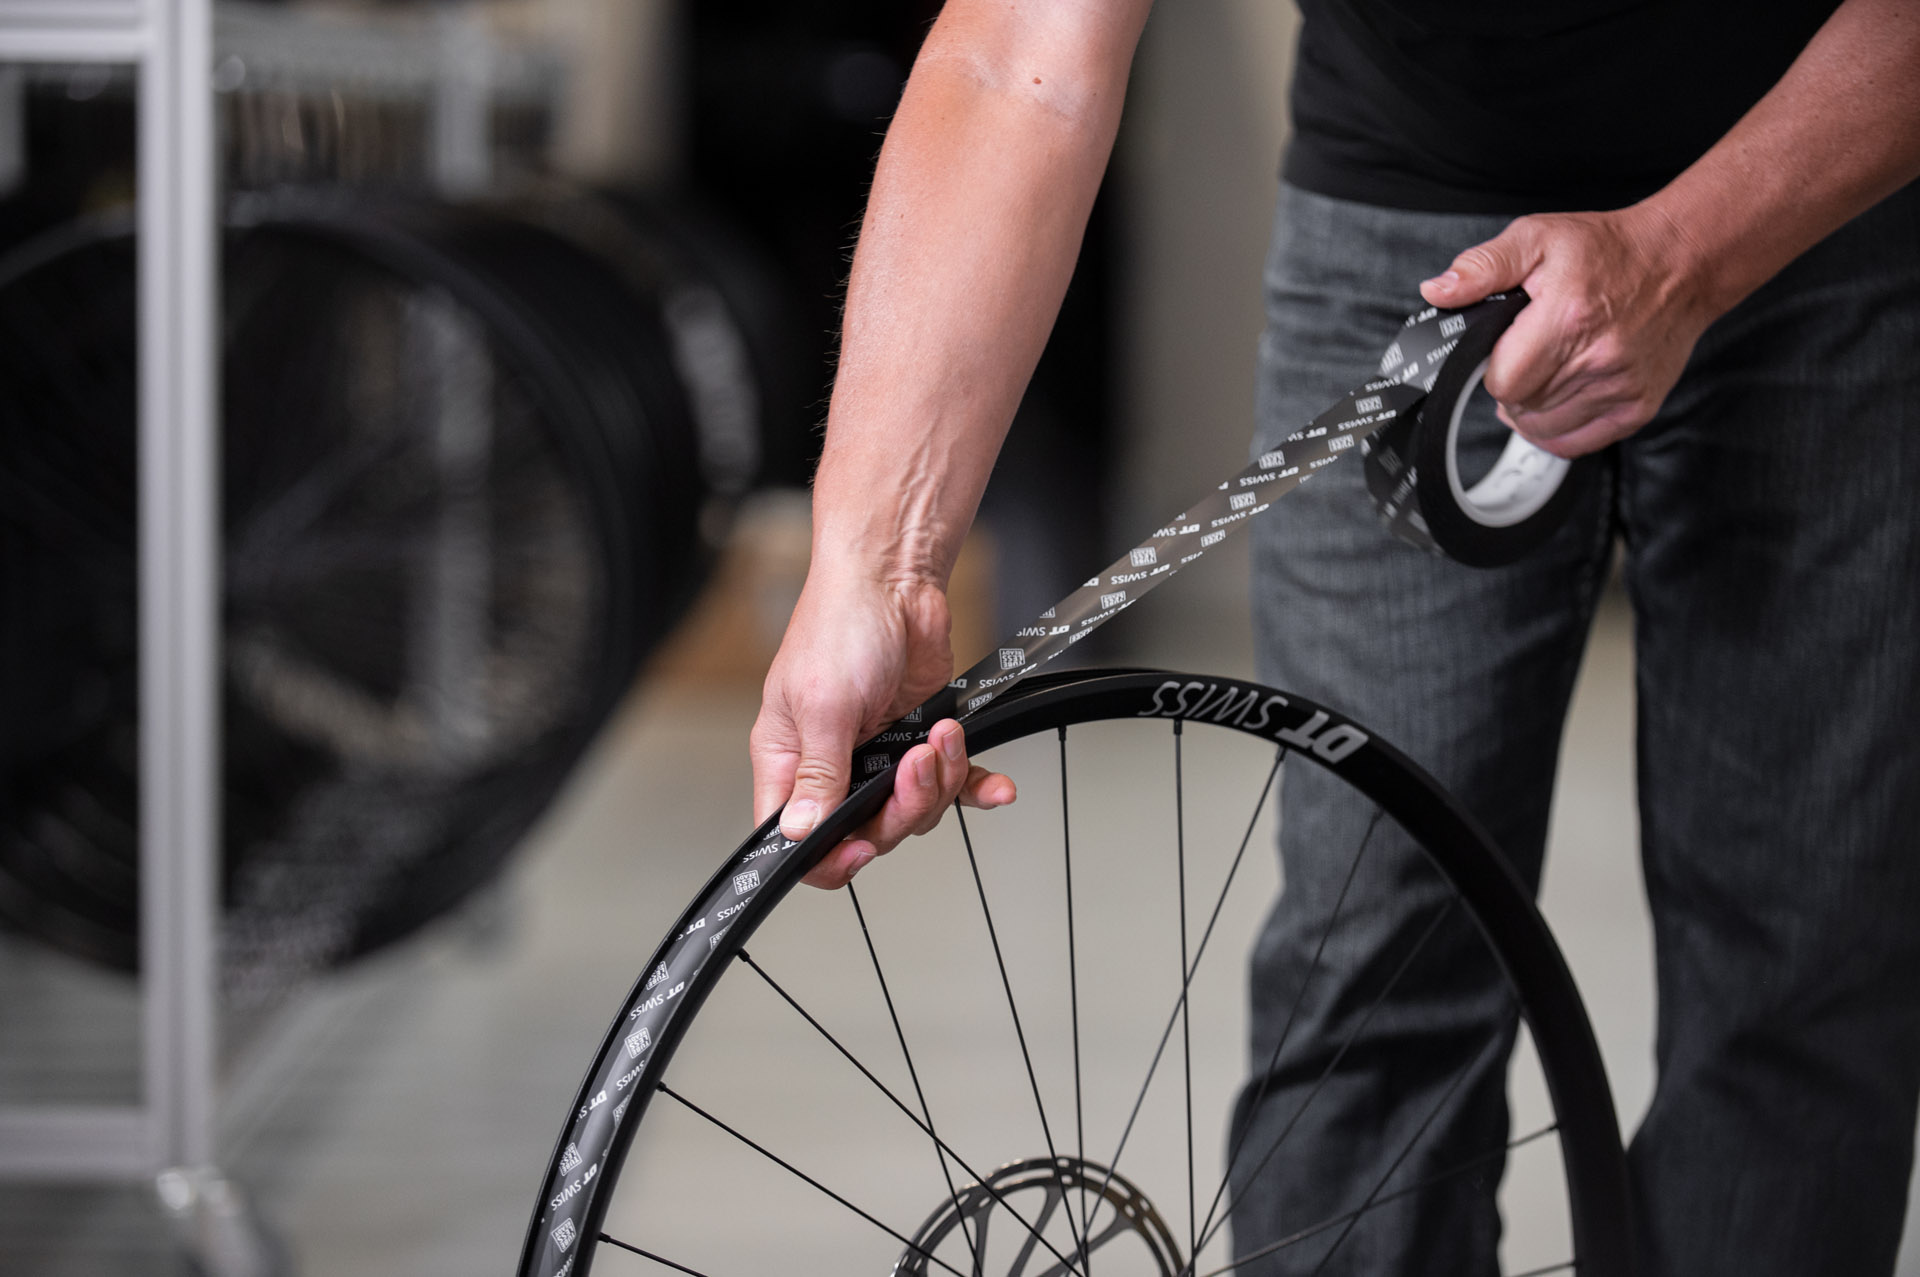
- The tubeless tape used should be 2mm wider than the inner rim width. You can find the inner rim width on the rim sticker or measure it yourself with a ruler or by checking the rim manufacturer's website.
- Start applying the tape next to the valve hole, between the first and second spoke holes. Make sure the tape is taut and fills the full width of the rim bed, and avoid creating air bubbles.
- When you've taped all the way around the rim, overlap the tape by about 10 to 15 cm and ensure it's properly stuck down.
- Push the tape into the rim bed with your thumb to ensure it's well stuck and seated.
- Using a sharp edged tool like a punch, knife, or scissor blade, put a hole in the tape the size of the tubeless valve at the valve hole on the rim.
- Insert the tubeless valve, making sure it's straight, well-seated, and makes good contact with the rim bed.
- Check the tire's direction of rotation and mount one side of the tire in the rim bed.
- Mount the other side of the tire on the opposite side to the valve, around 80% of the rim.
- Rotate the wheel so the gap is at the bottom and pour in the sealant, checking the back of the sealant bottle for the manufacturer's recommendations on how much to use.
- Slowly rotate the wheel so the gap is at the top and fit the rest of the tire to the rim.
- Inflate the tire quickly to the maximum pressure of either the rim or the tire, whichever is lower, using a track pump or compressor. You may hear a loud bang as the tire seats itself against the rim.
- After inflating the tire, ensure it's properly seated all the way around the top of the rim wall on both sides.
- Spin and shake the wheel to help the sealant spread evenly around the inner surface of the rim and tire.
- Repeat the process for the other wheel, and don't forget to drop your tire pressures to your desired settings before heading off-road.

MAINTENANCE AND CARE
After the first ride, you may notice a slight drop in tire pressure. This is normal as the system "beds in." Check to make sure the tire and valve are seated properly. If they are, re-inflate the tire to your desired pressure.
If you continue to lose air, you may need to add more sealant to plug any gaps that air is escaping from.
Sealant dries out over time and becomes less effective. Check your tires every three months to make sure you still have plenty of sealant.
If you are experiencing more punctures than usual, it may be time to refresh the sealant. To do this, remove one side of the tire from the rim, scrape out the old sealant, and replace it with fresh sealant.