MAGURA BRAKE INSTALLATION
The first step in fitting a new brake is choosing the right brake for the riding you do.
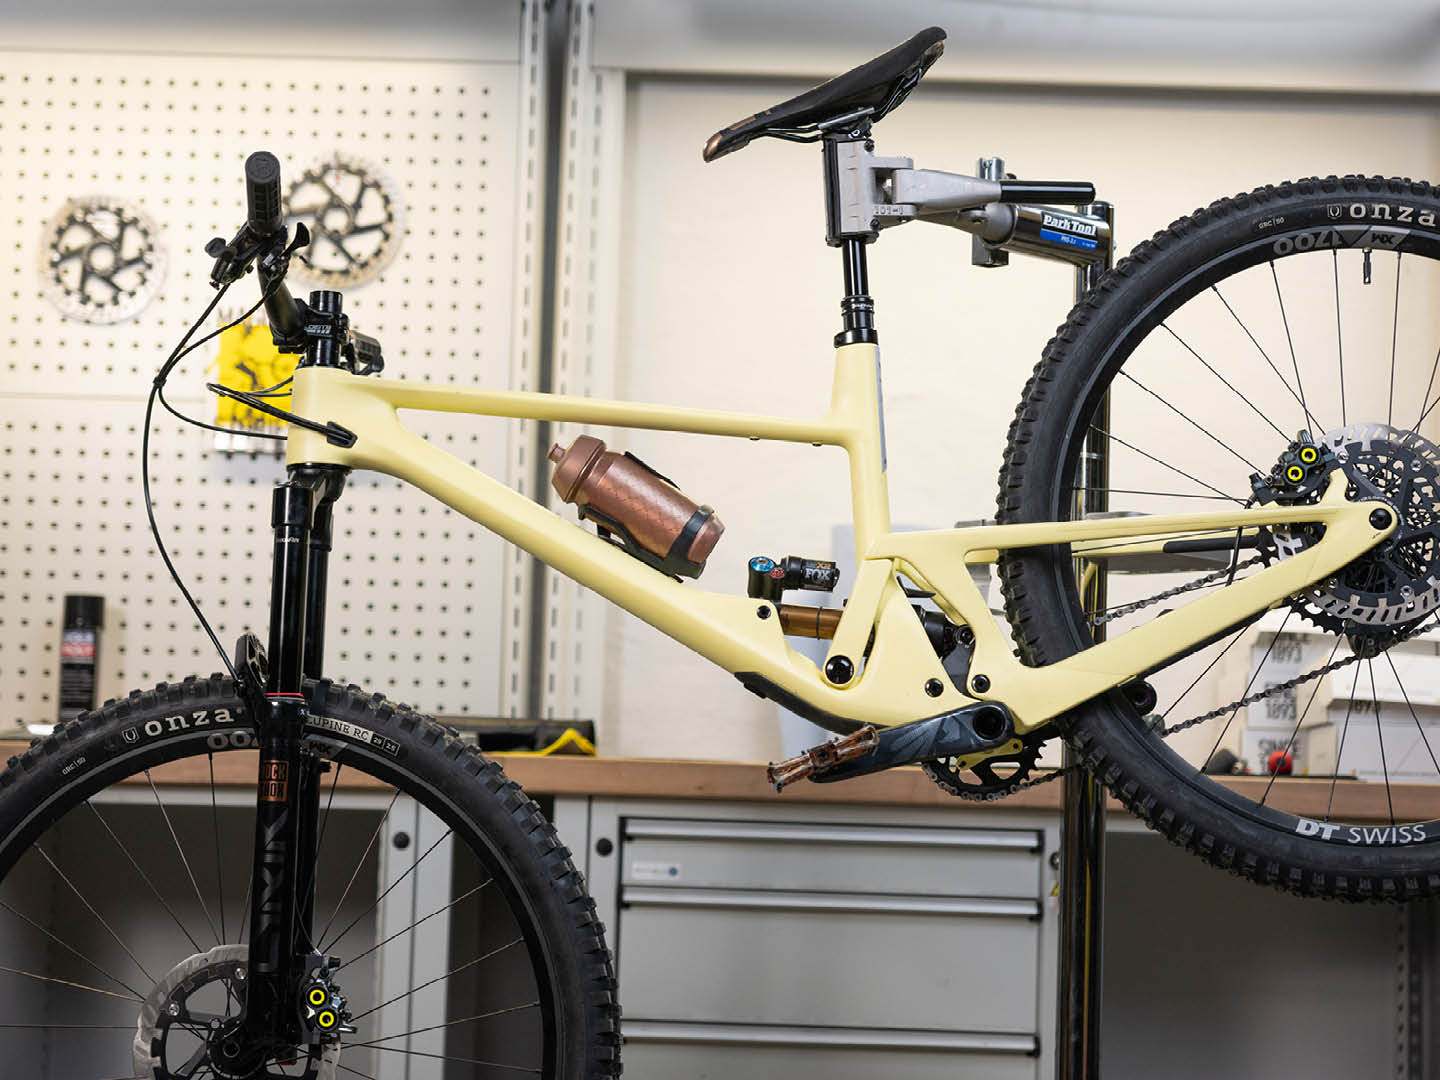
If you have a 4060 then a four piston brake, such as Magura’s MT7 is a great choice. Aimed at those looking for plenty of power and fade-free performance on long technical descents, they are a perfect match for the kind of riding the 4060 was built for.
WHAT YOU WILL NEED
- Brakes! Ideally one for the front and one for the back
- Appropriate brake adapters
- Barb connector (optional)
- T25 key
- 5 mm Hex Key
- 8 mm open end spanner
- Hose cutter - recommended, but a sharp blade can work otherwise.
- Workshop paper roll
- Brake cleaner
MASTER CYLINDER INSTALLATION
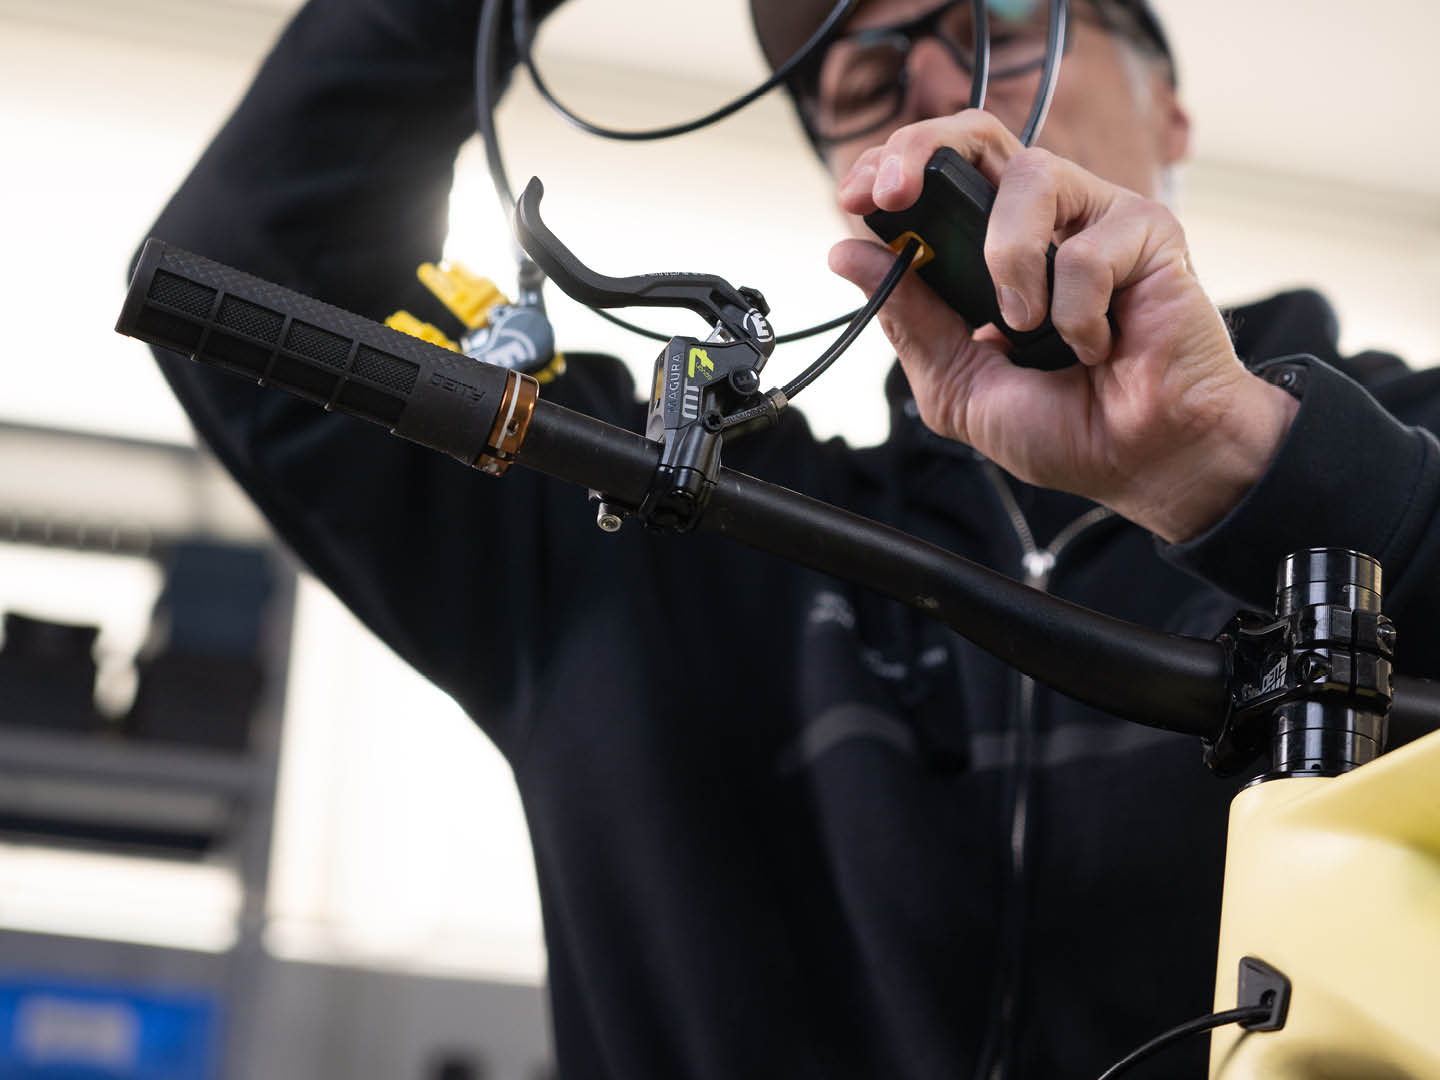
Secure the bike in a stand. Remove the old brakes. Mount the MT7 brake master cylinder on the handlebar. If you’re looking for a super-clean look, use Magura’s Shiftmix to attach the dropper post lever or shifter to the handlebar clamp.
Rotate the master cylinder so it’s vertical, with the brake levers pointing straight up. This should stop oil leaking when you cut the hose. Cut the hose cleanly 10 cm from where it enters the brake master cylinder.
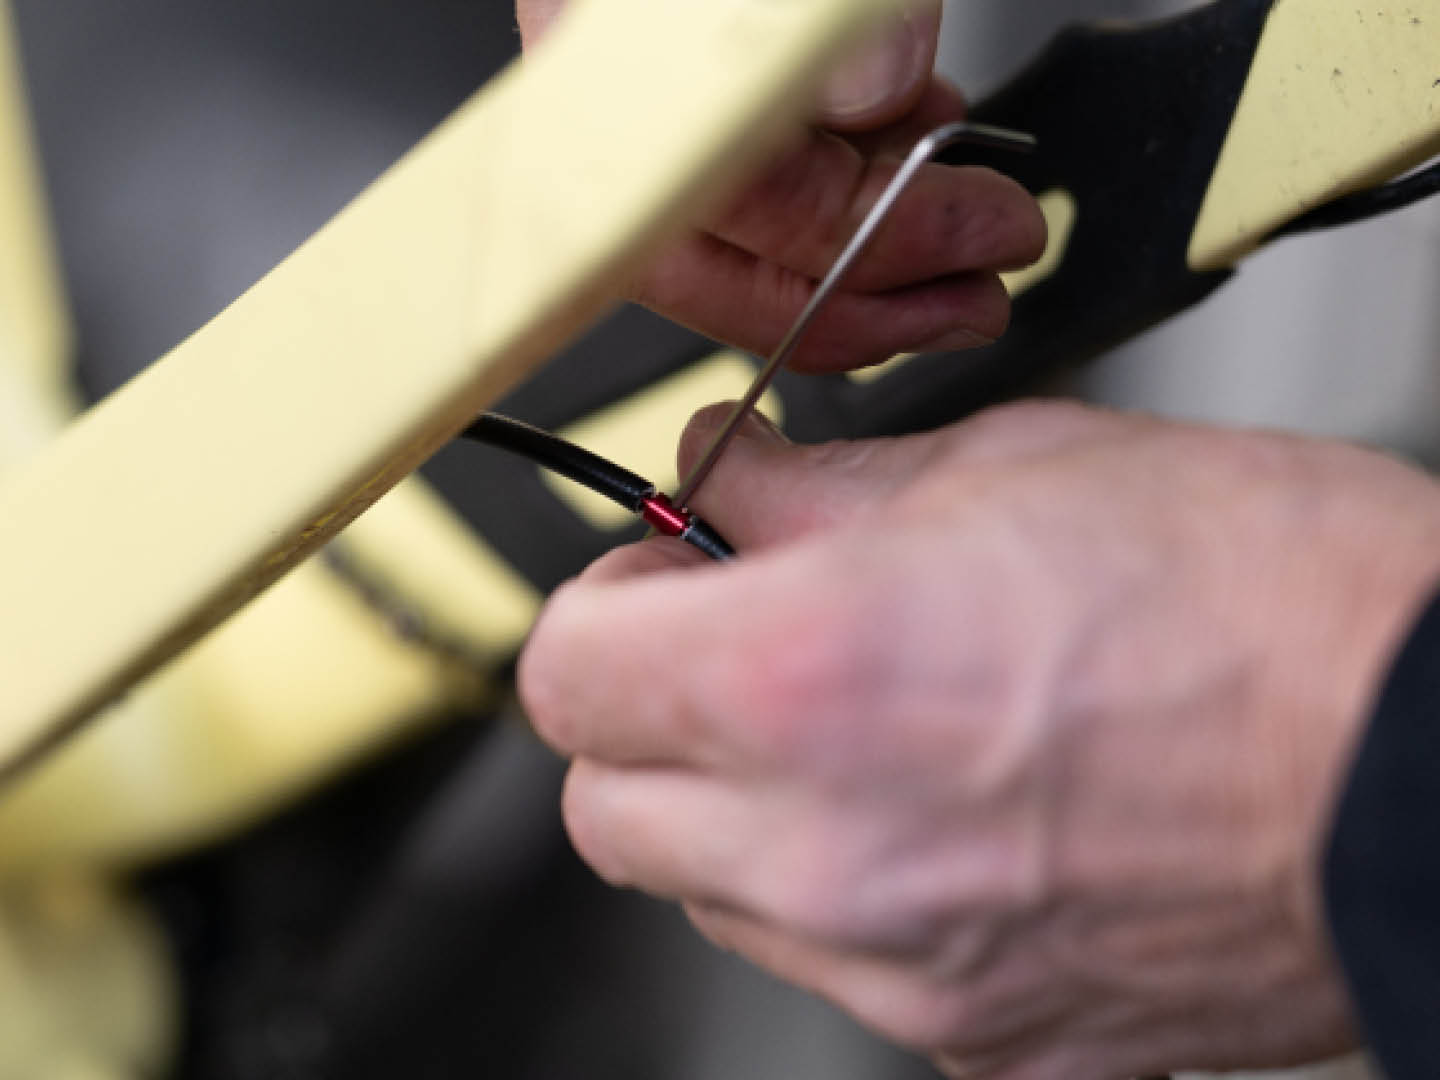
INTERNAL ROUTING
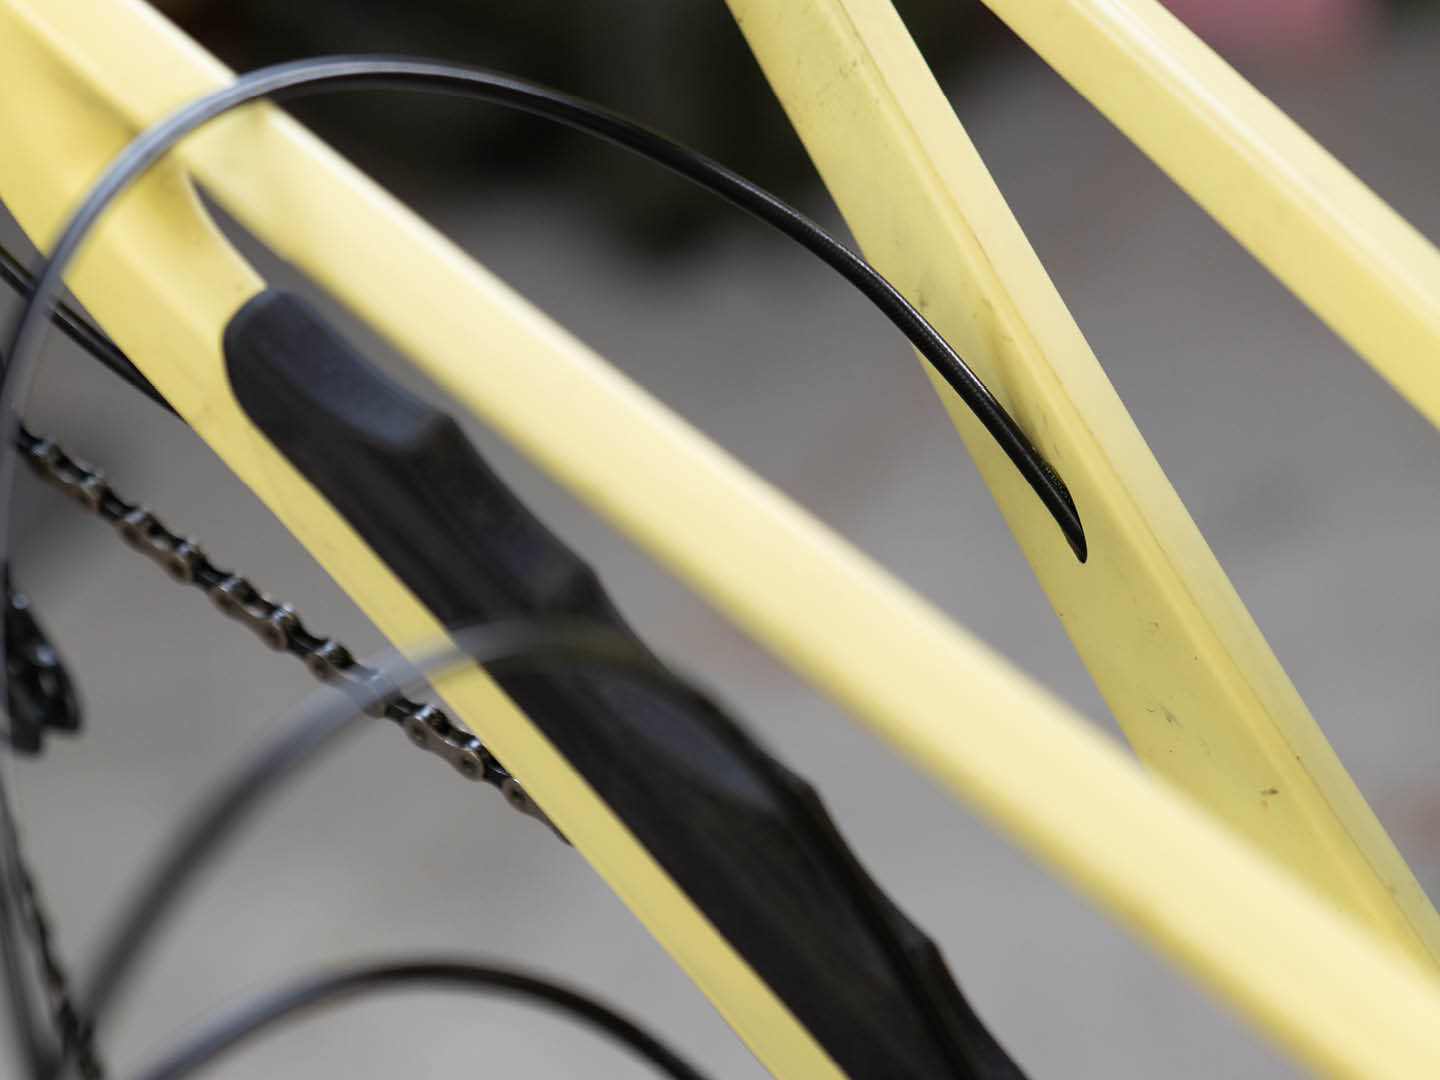
The 4060’s frame uses guided internal routing, making fitting hoses simple. If you’ve already removed your old brakes, just insert the hose from the bottom of the frame and it’ll appear by the headtube. Easy. If you’re fitting the brakes to a frame without guided internal routing, and already have a brake mounted, you can use a barb connector. This joins the end of the old hose to the new hose, so you can just pull the new hose through the frame. Barb connectors are cheap and save on blood, sweat and swears. Recommended.
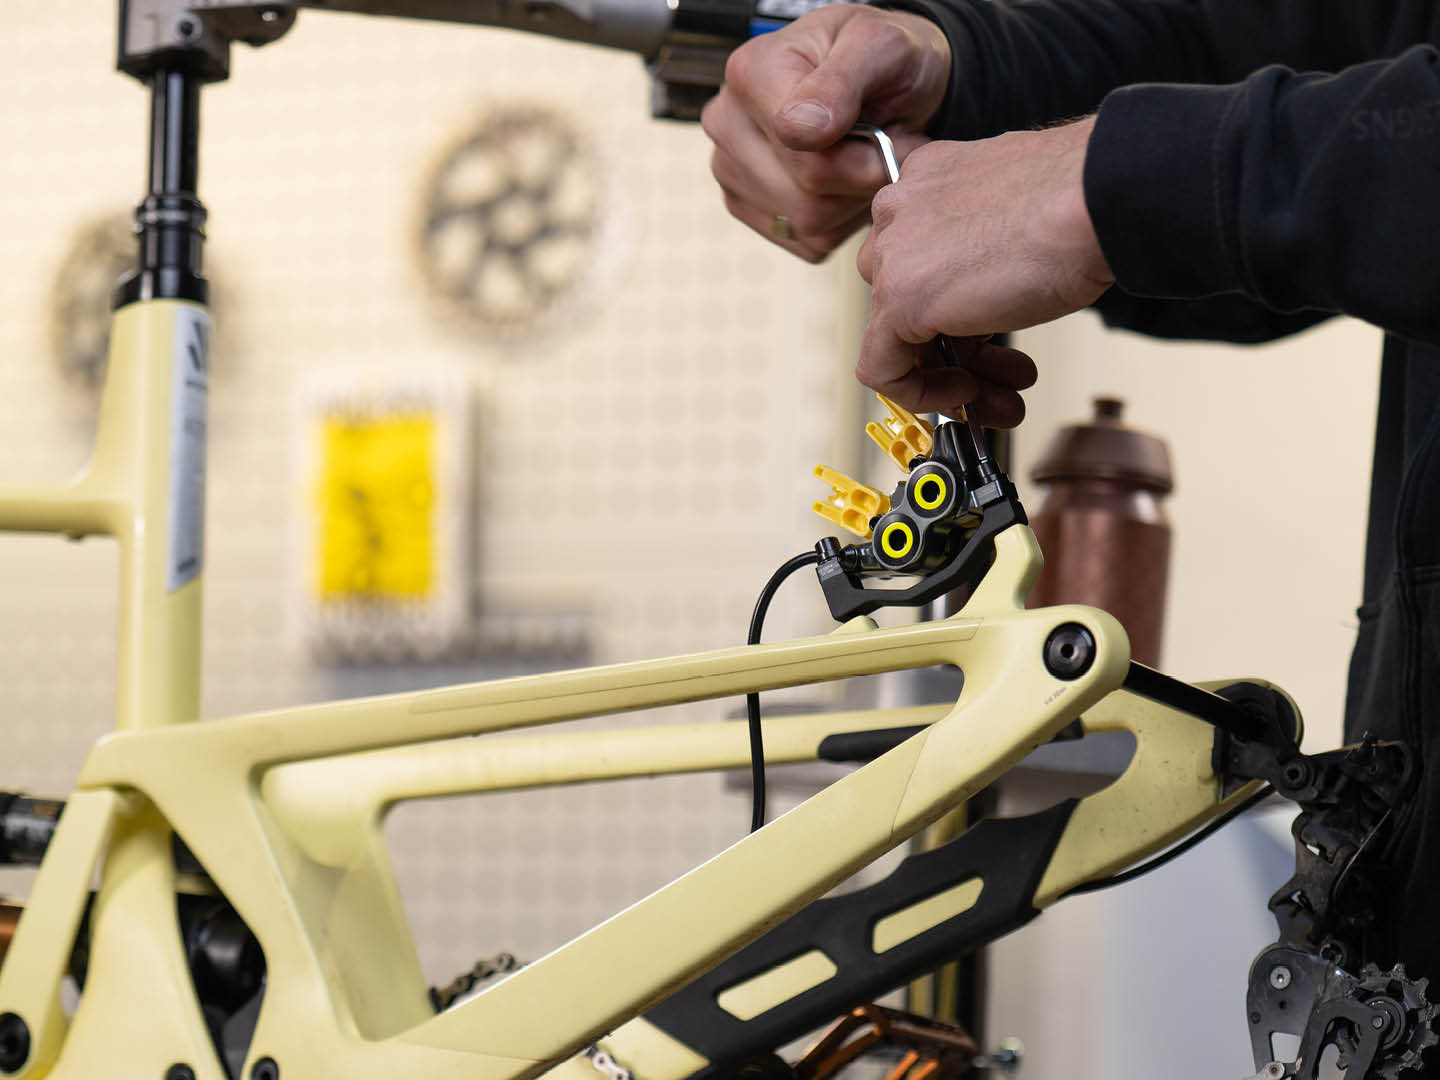
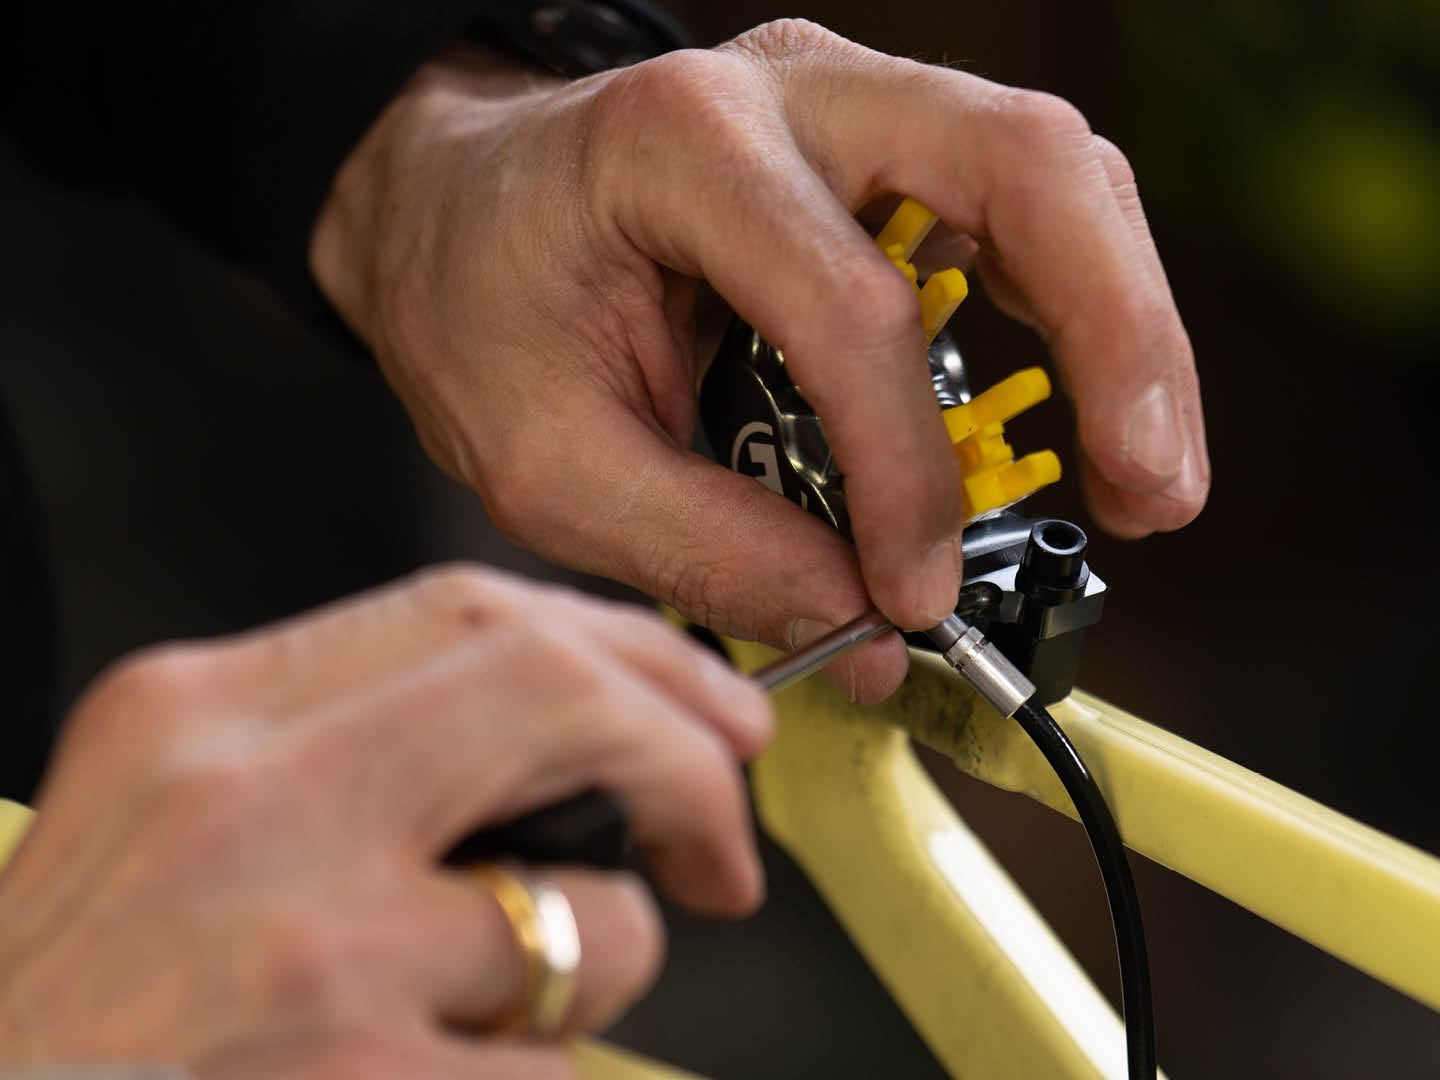
CALIPER INSTALLATION
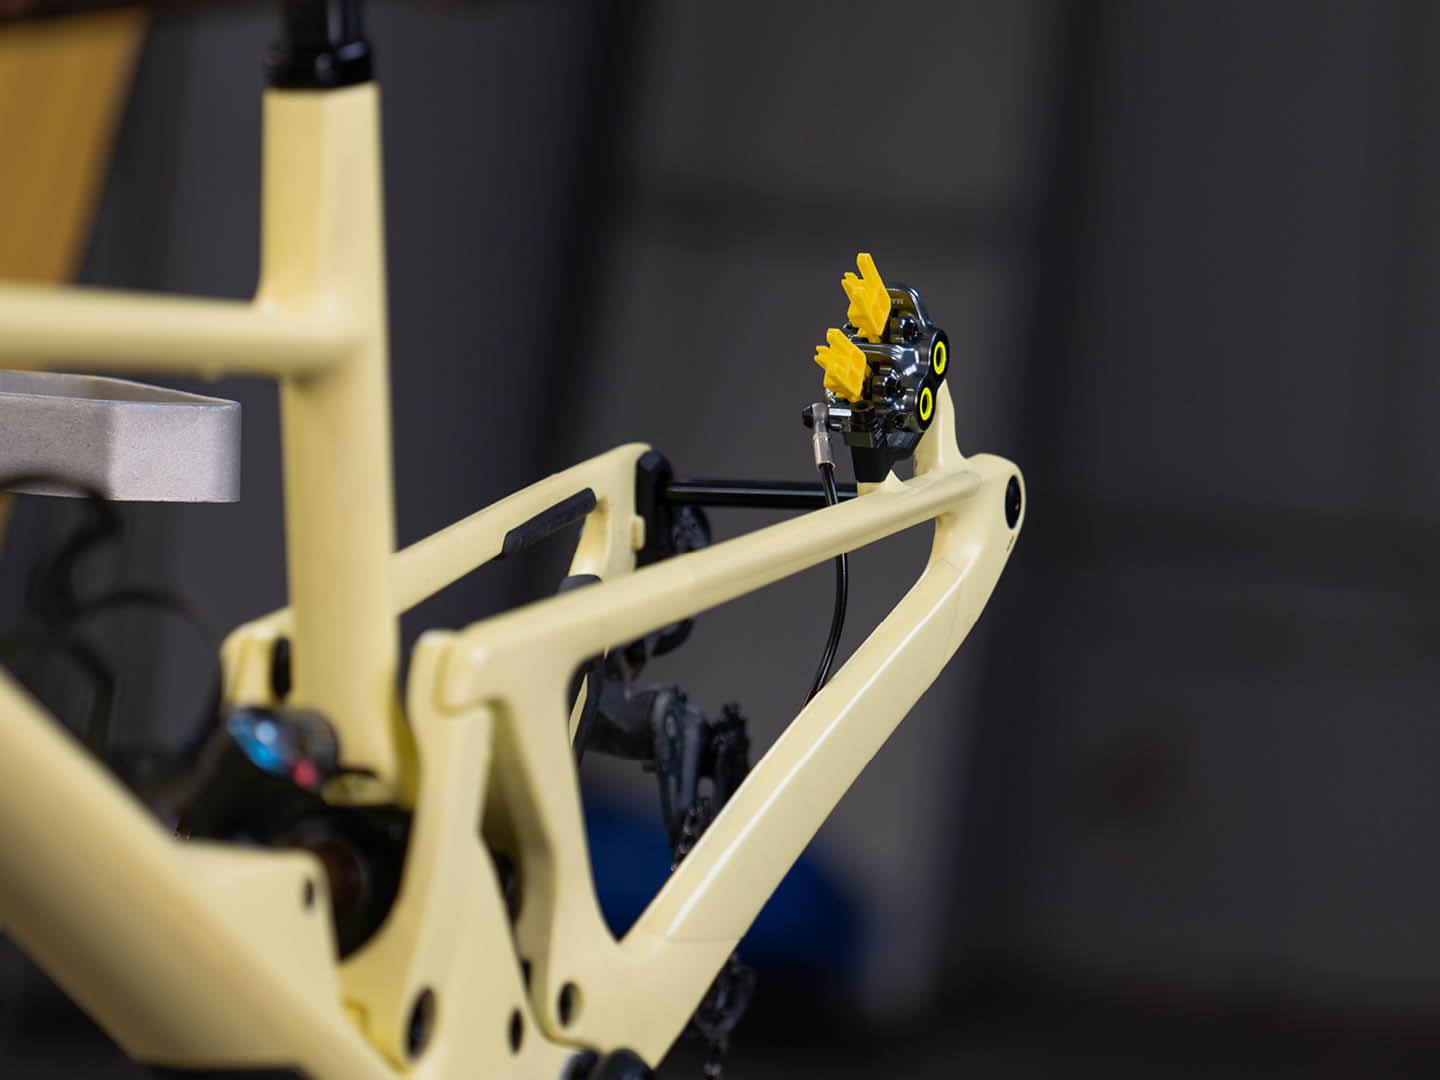
The SCOR 4060 frame uses a PM7 brake mount, so if you’re using a 180 mm rotor you can screw the caliper directly to the frame. To use a 203 mm rotor you will need to fit a +20 mm adapter between the frame and the caliper.
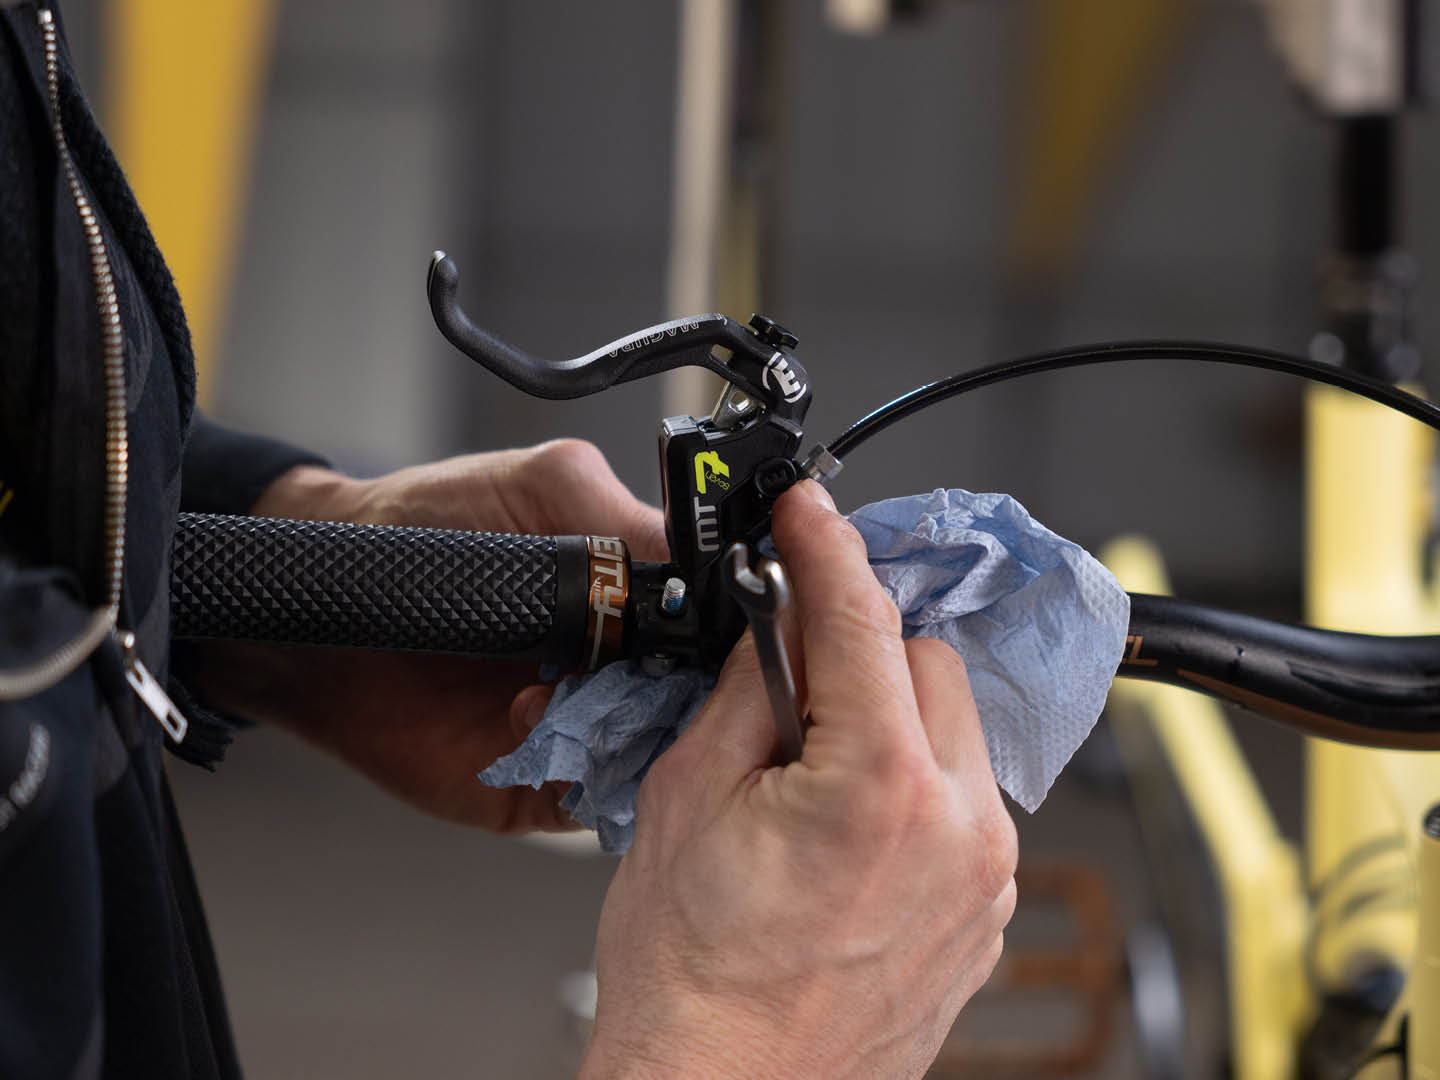
The MT7 uses what’s known as a banjo hose connector on the caliper. This allows you to adjust the angle of the hose. Once you’ve mounted the caliper, loosen the screw on the banjo connector just enough that you can angle the hose and get a nice smooth line between the caliper and the point at which the hose enters the frame.
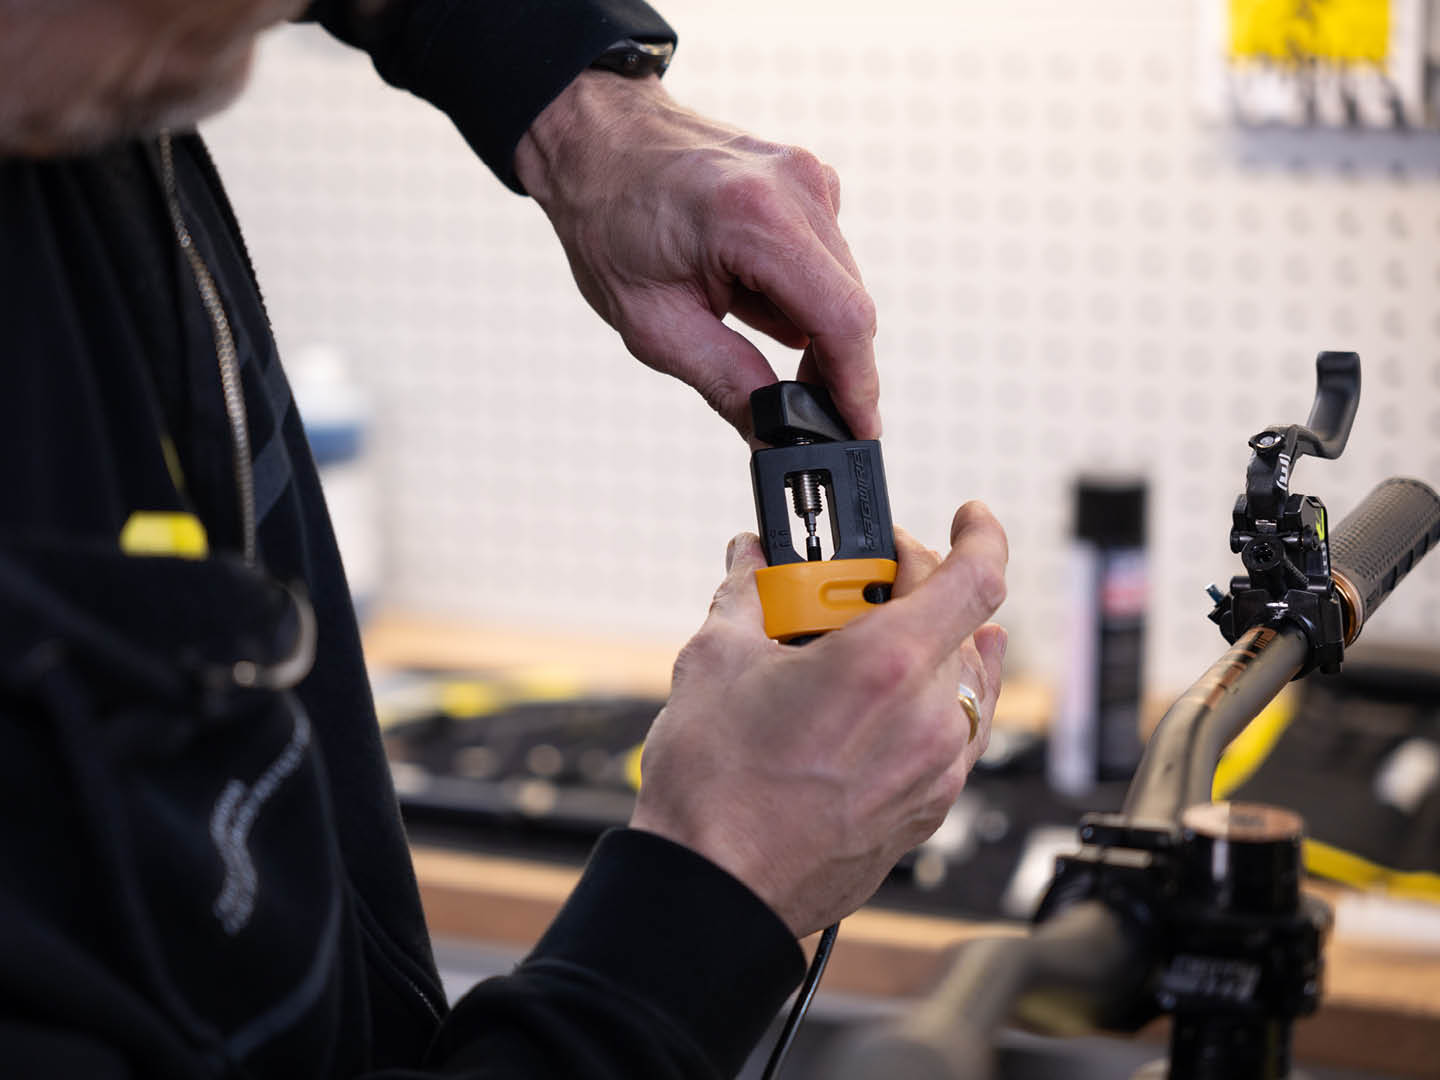
HOSE LENGTH
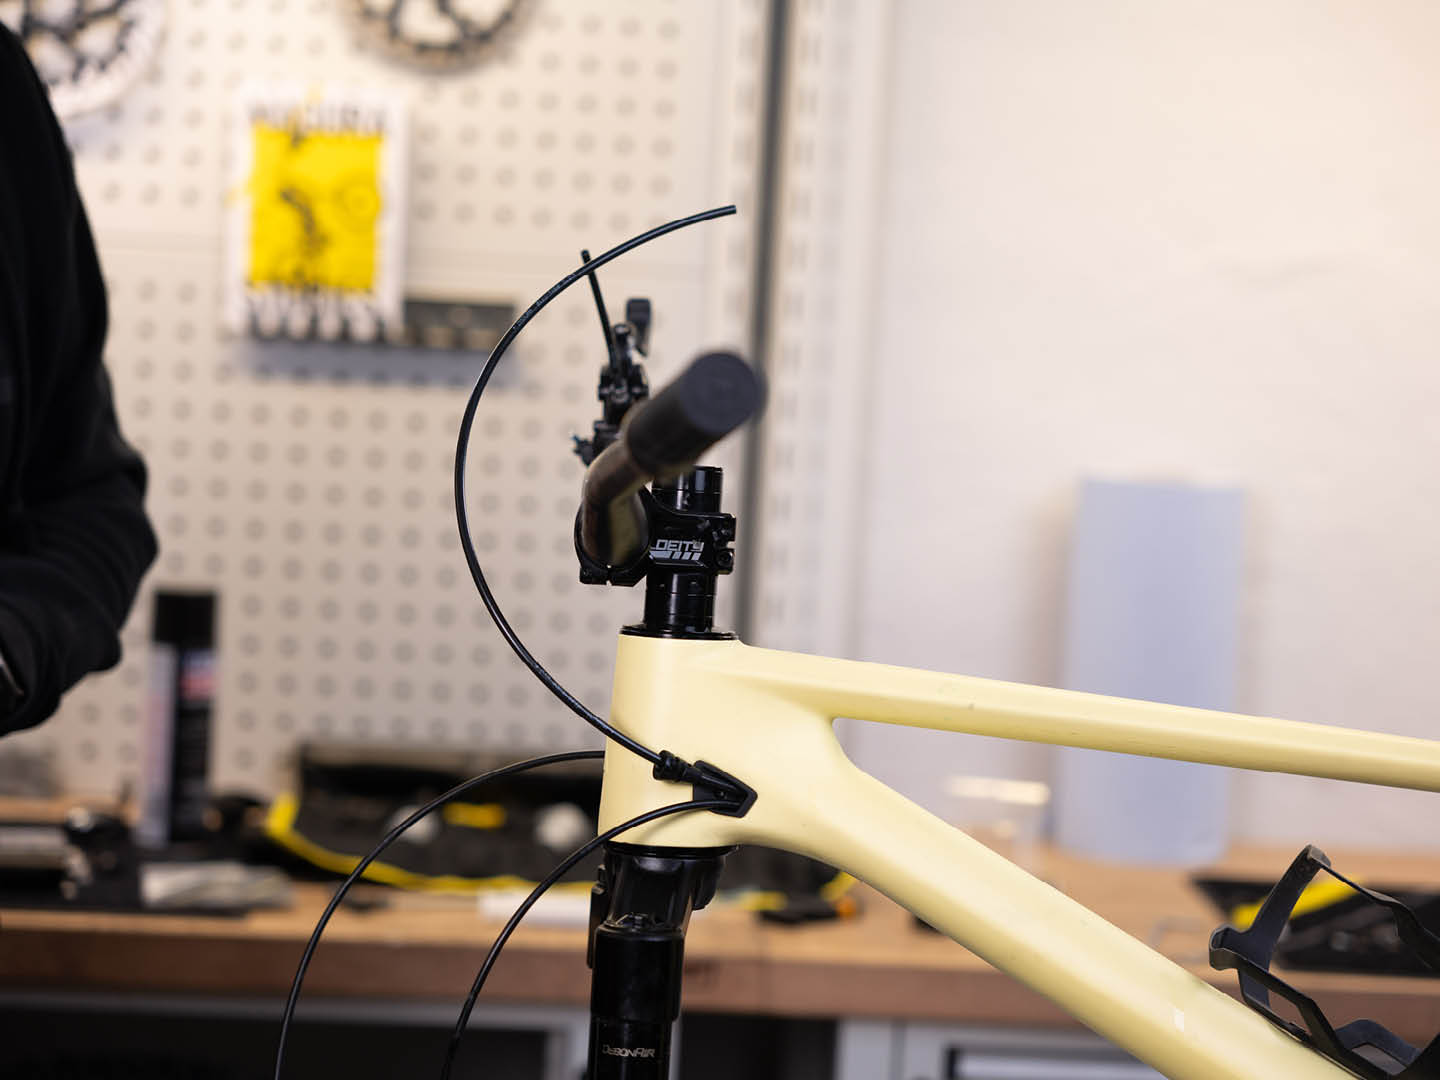
Rotate the master cylinder 90 degrees so it’s roughly horizontal. Adjust the position so that the lever is about where you would like it when riding. DO NOT PULL THE LEVER! It’s tempting, but it’ll make a mess and you’ll have to do a full brake bleed.
Rotate the bars fully left to right to check hose routing and length. You want the hoses to be long enough that you can easily move the bars from lock to lock. Check this again. And again. Maybe a third time to be sure. When you’re extra-double sure, cut the hose to the appropriate length.
Unscrew the nut on the master cylinder with the 8mm spanner and slowly remove the 10 cm of hose, making sure any oil goes into the master cylinder.
Put the hose cover, sleeve nut and olive onto the new hose. Insert the barb into the end of the hose. Tighten it until it sits flush. Insert the hose into the master cylinder and carefully screw in the nut, using paper towel to soak up any oil that might escape. Tighten to 4 Nm or until you can't see any thread.
Rotate the master cylinder to your preferred position and tighten the handlebar clamp.
Repeat for the other brake.
If you’ve been very careful you won't have to bleed the brake but a quick brake bleed is often useful to make sure no air is hiding in the system.
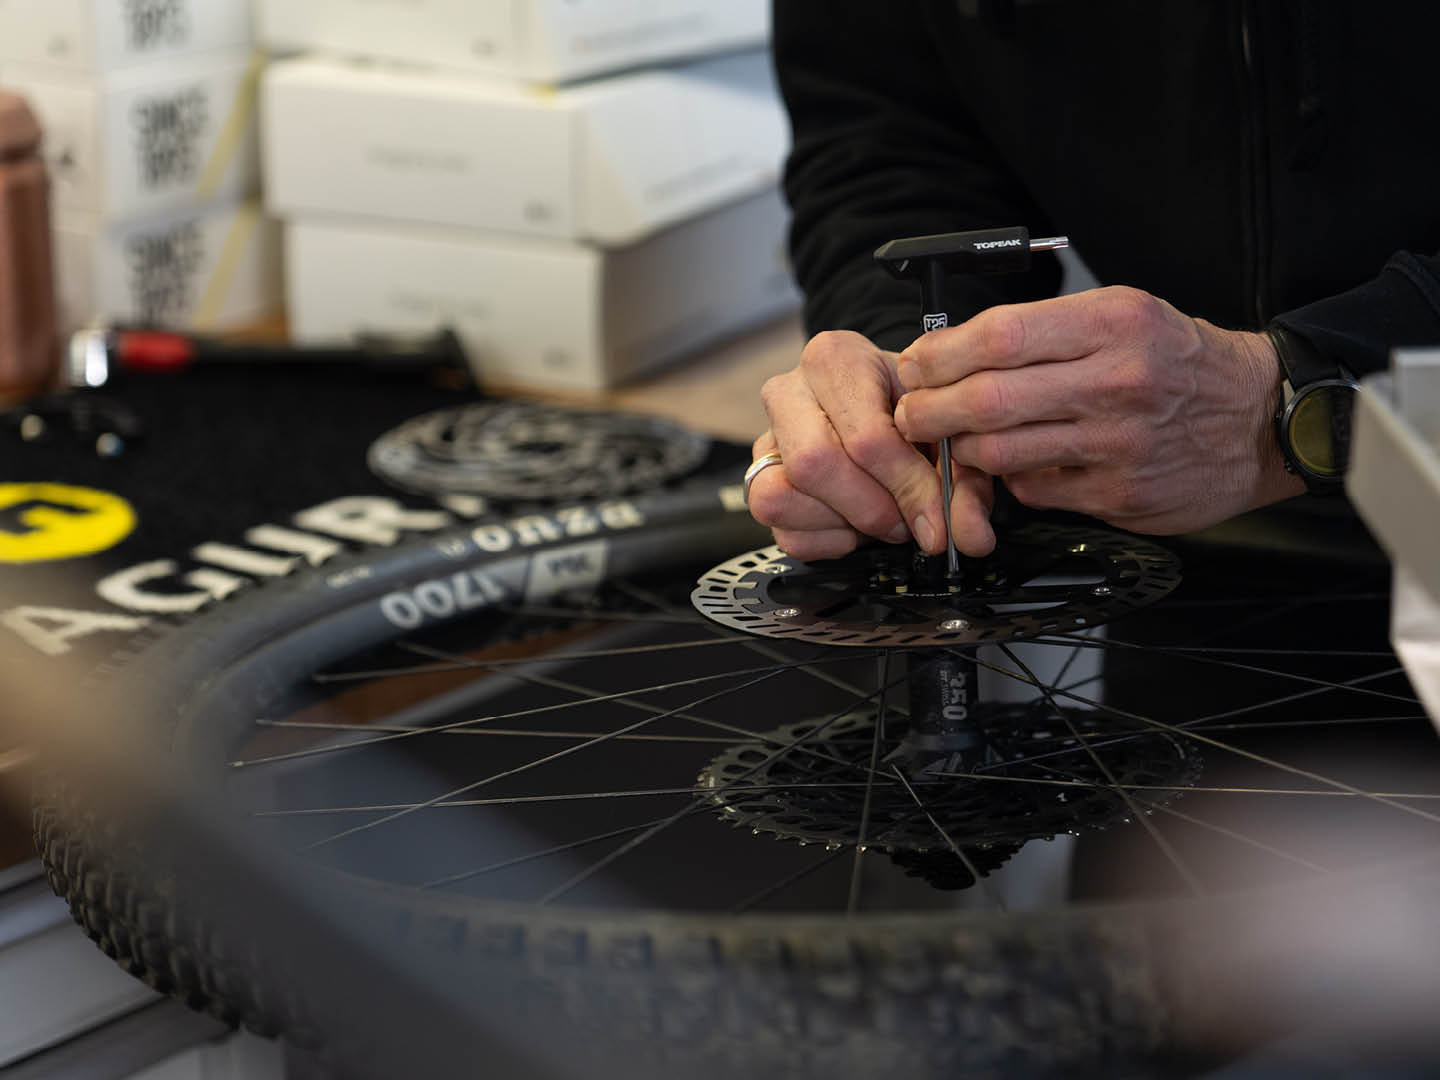
MOUNTING THE DISC
For 6 bolt brake discs, start by tightening all the screws two or three turns – then turn the brake disc clockwise to center it. This will help prevent movement during the braking. Now tighten the screws in a crosswise manner to a maximum torque of 4 Nm. Give the discs a clean with brake cleaner just in case you’ve put your greasy fingers on them.
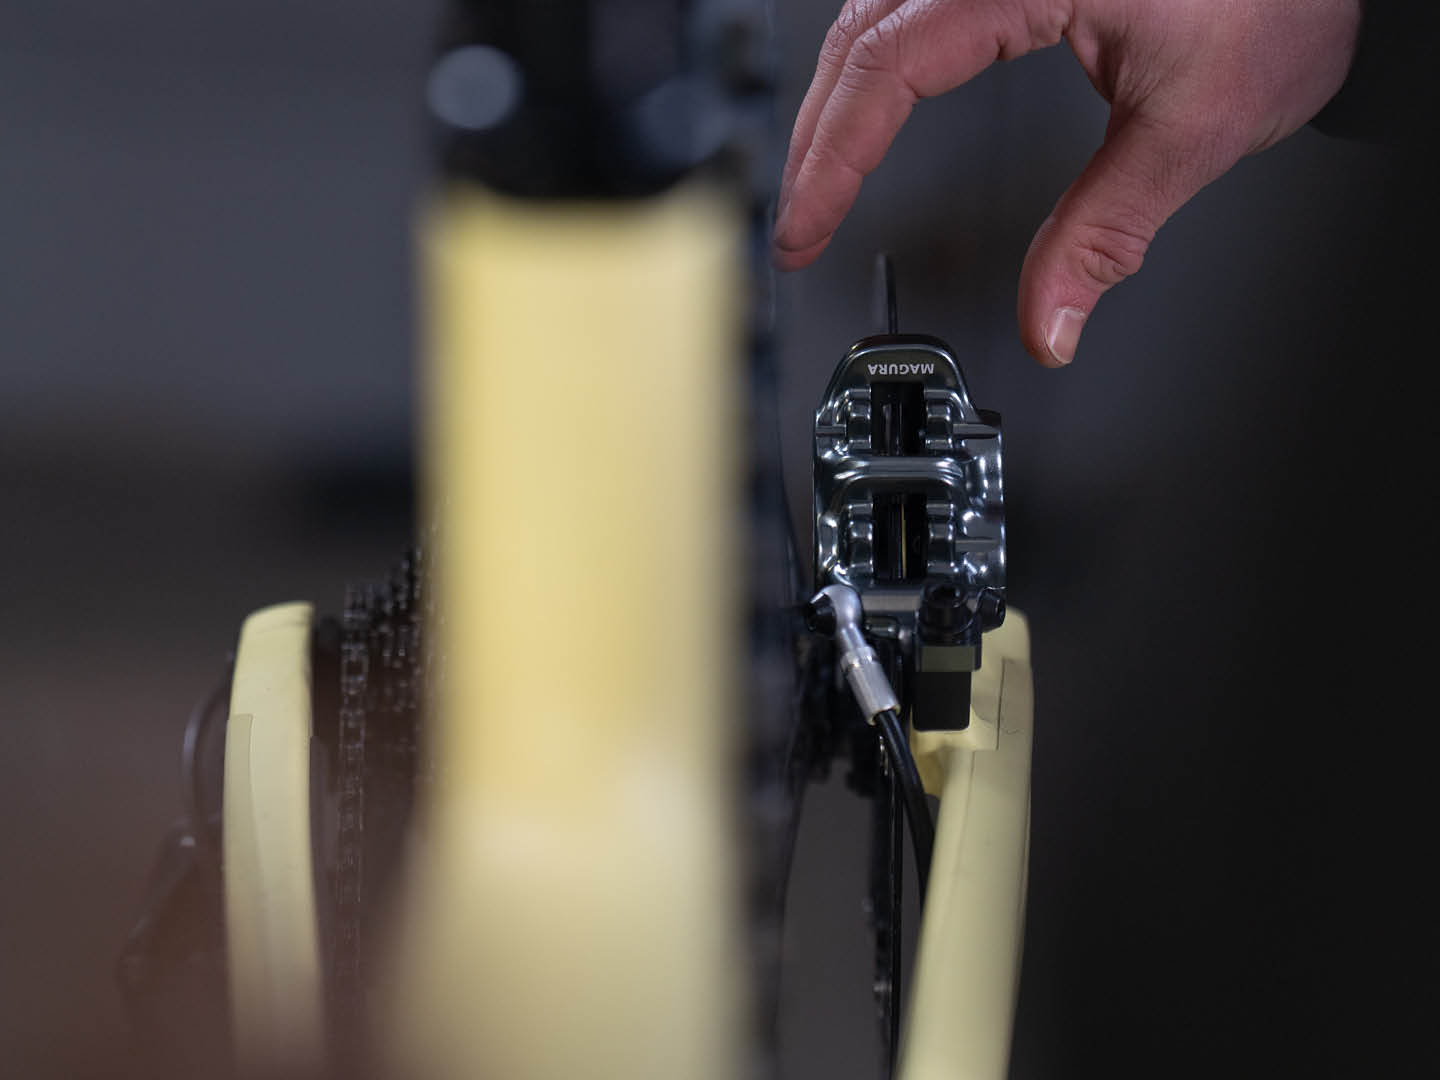
MOUNTING THE CALIPER
Centering the caliper over the disc stops the brake pads rubbing when riding, which is really annoying. To do this, remove the brake pads from the caliper and loosen the bolts attaching the caliper to the frame or adapter. Move the caliper so that the brake disc is centered within the caliper, checking from the top, front and back. Tighten the bolts, check everything is still centered and re-install the brake pads.
FINAL CHECKS
Give both levers a squeeze and check that all four pistons move freely in each brake.
Drop the bike out of the stand and fine tune the position of the master cylinder and brake levers.