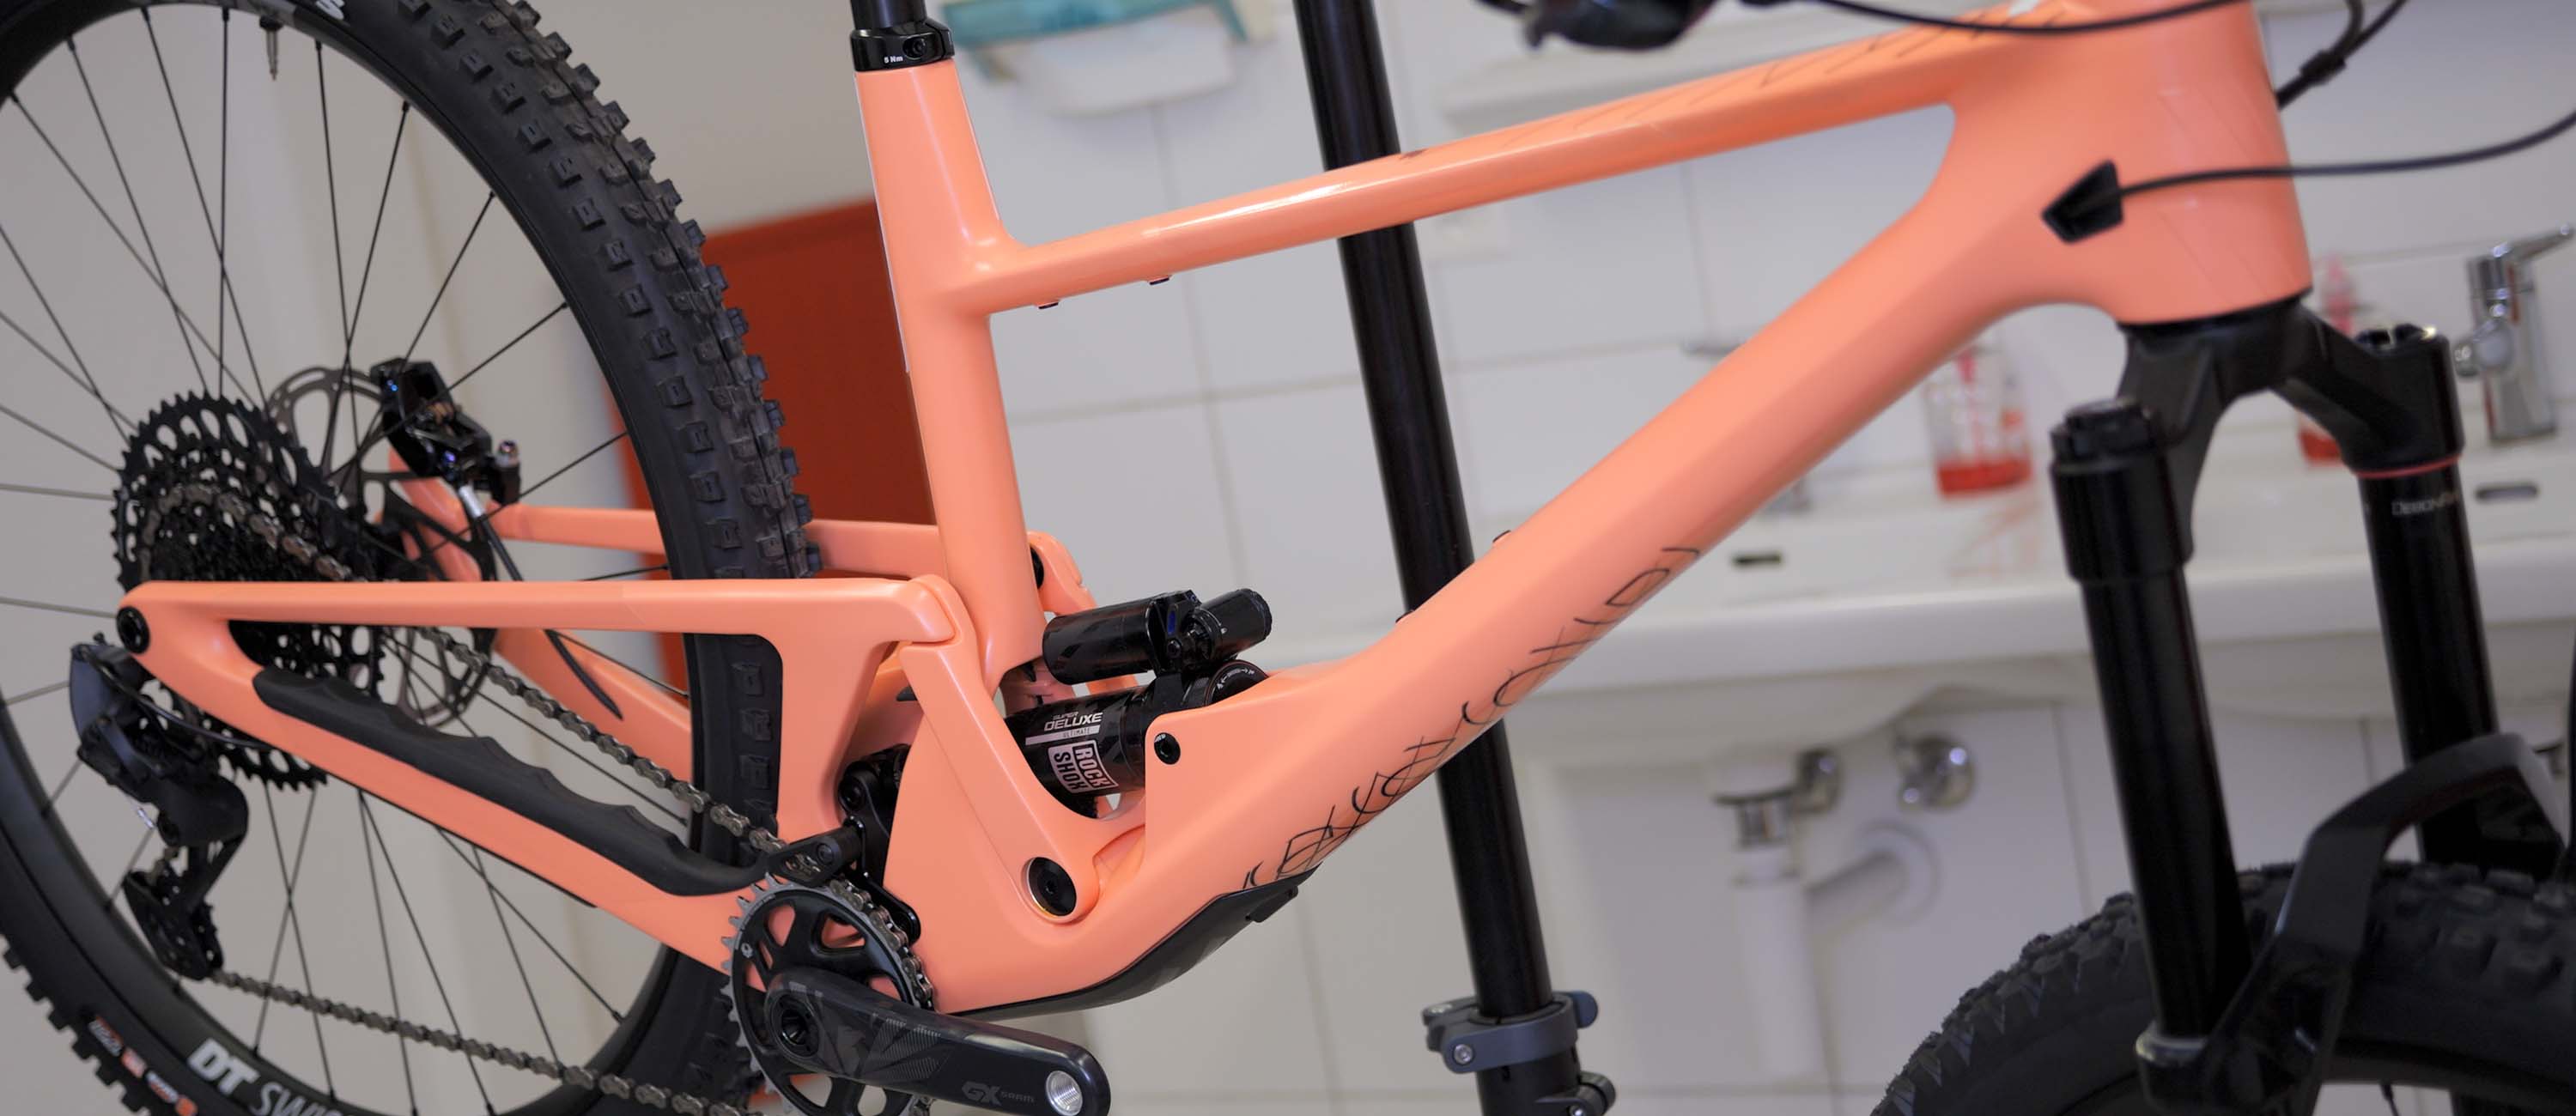
WORKSHOP 101 / PART 1
You don’t need to be a workshop wizard like Bastien to keep your bike running perfectly. In fact, you don’t even need a workshop. Wherever you work on your bike can be your workshop. Yay.
TOOL UP
Most workshop jobs are easy when you have the right tools. A multi-tool might be perfect for your stash box, but if you want to up your wrenching game, then start with these workshop essentials:
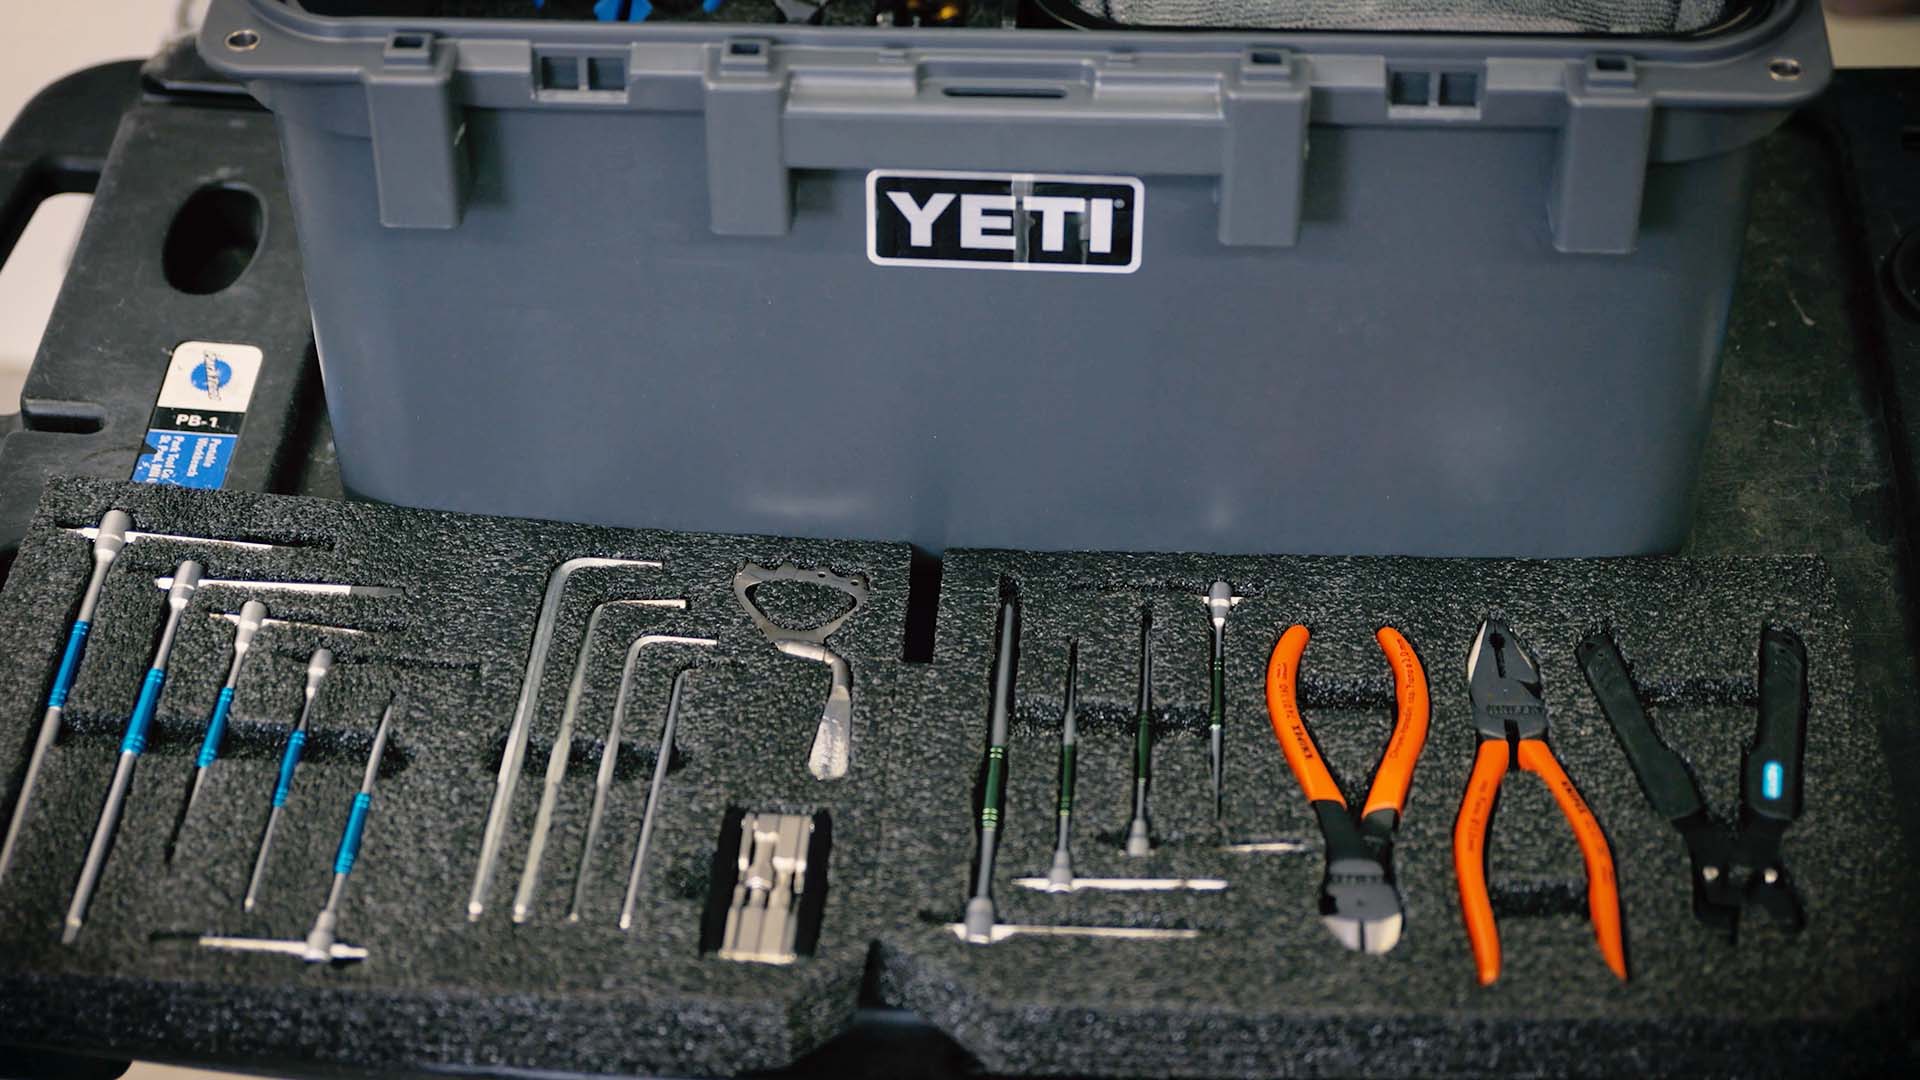
• Workstand
• Set of hex keys (2mm-10mm)
• Torx keys (T25 and T10)
• Chain tool
• Cable cutters
• Small flat and Phillips screwdrivers
• Spoke key
• Tire levers
• Track pump
• Shock pump
• Chain lube
• Grease
CLEAN MACHINE
It’s like going on a date. Before working on your bike, you should give it a good clean. Does your kitchen double as your workshop? Then this is doubly important. Washing your bike helps with spotting any obvious problems and makes working on your bike much easier.
• Spray a bike-specific cleaning agent onto the drivetrain. Use a brush to get into those hard-to-reach areas and loosen any stubborn dirt.
• Move onto the rest of the bike. Again, use the bike-specific cleaner and agitate any stubborn dirt with a sponge or soft brush.
• Wash off all the bubbles and let the bike drip-dry for a few minutes. Give it a bounce to help get the water off and then wipe away any excess liquid with a microfiber cloth.
• Worried about washing your e-bike? No need to be shocked. We’ve got some advice for you right here: https://www.scor-mtb.com/how-to-clean-my-e-bike
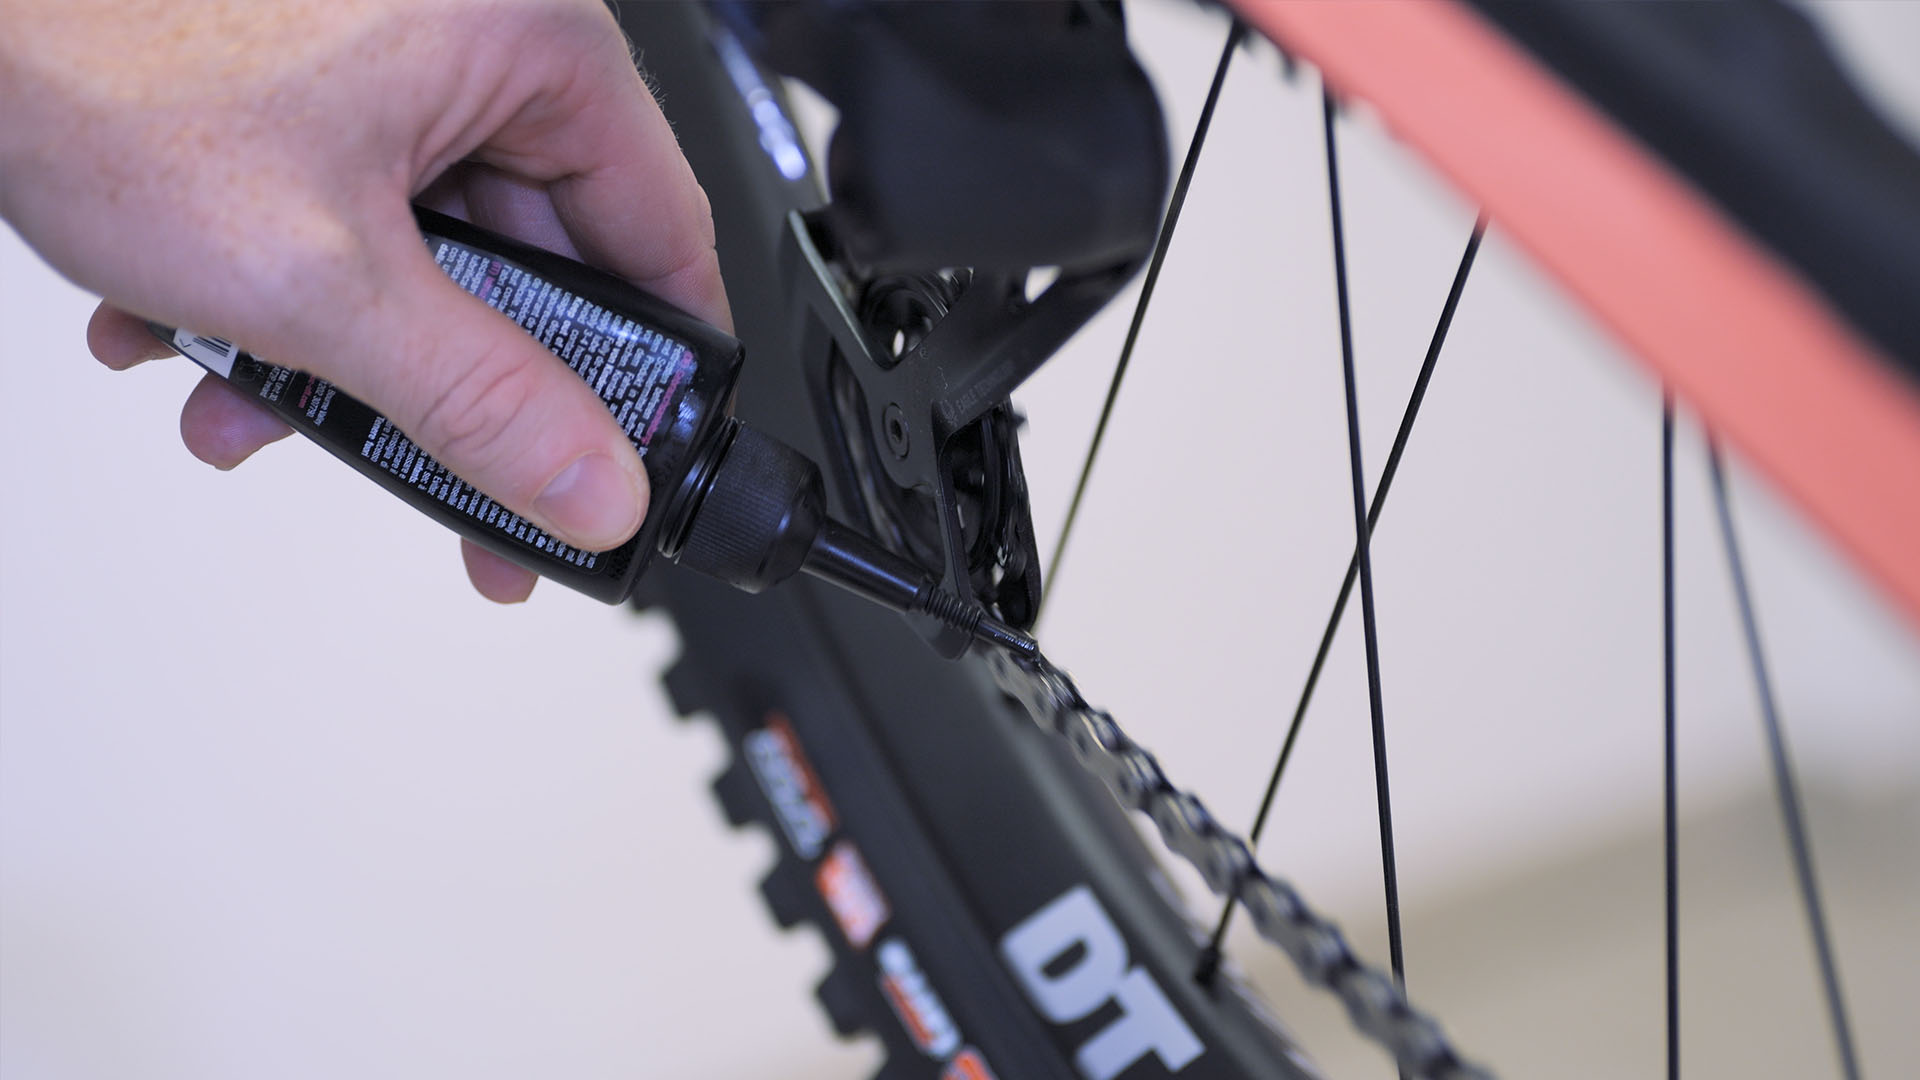
CHAIN GANG
A well-maintained chain is the heart and soul of a smooth-running drivetrain. Looking after your chain pays back big time.
• Start with a clean, dry chain. Slowly spin the cranks backwards, applying chain lube to each link. The kind of lube you use is up to you, but anything is better than nothing. We don’t recommend olive oil though.
• Wipe off any excess lube to keep the chain from picking up dirt. This just ends up clogging your jockey wheels and increase the wear and tear.
• Speaking of which, check your chain, cassette and chainrings regularly for wear. If the teeth of your chainring start to look hooked, or like shark fins, it’s time for a fresh ring. Chances are your chain and cassette will need to be replaced at that point too.
GEAR UP
Gears that shift seamlessly are a joy. Gears that skip and crunch can ruin a ride. Take a few minutes to tweak your shifter and derailleur to go to gear-shifting nirvana. Ohmmm…
• Make sure you can shift into every gear with ease, up and down the cassette. Gears skipping? Check the manufacturer’s website on how to adjust the shifter, or mech, to get everything in sync.
• Difficult to shift? It’s probably time to change your cables. Route new cables correctly, so they don’t rub on your shiny SCOR frame.
Obviously, this doesn’t apply to SRAM AXS wireless shifting. All you need to do there is make sure the batteries are fully charged and your Bluetooth signal is greased.*
*Only joking!
• Check if the derailleur hanger bolt is properly tightened, as it can come loose over time, causing mis-shifts.
• A common cause for poor shifting is an out-of-alignment derailleur hanger. Looking from the back of the bike, the hanger should point straight down and appear in line with the cogs on the cassette. If it’s wonky, fit a new one.
• Did you accidentally hit your derailleur whilst out on the trail? Stop and make sure the hanger is straight. A bent hanger can push the derailleur into the spokes causing all sorts of loud, expensive, and painful damage to you and your bike. If you’re riding a SCOR 4060 there’s a spare derailleur hanger in your stash box. Handy, huh? What a cool brand.
Braking
Bad?
The better your brakes, the faster you can ride. And the quickest way of getting quicker is to make sure your brakes are working as they should. Poetic.
• Inspect your brakes. Check the brake hoses for damage, kinks or cuts. Are there any leaks around the hose connections, callipers – including the pistons – and levers?
• Make sure the brake pads still have plenty of material on them. Rear pads tend to wear more quickly than front ones - unless you endo-turn everywhere like Ludo May - and wet conditions can eat pads. Check them more often over winter.
• The same goes for rotors. Feel for any obvious steps or grooves in the discs and measure the thickness. Replace them when they’ve reached the limit specified by the manufacturer.
• Spin the wheel to check the disc is running centred between the pads. If not, your disc might be bent or warped, or the brake calliper needs realigning.
• The fluid in your brakes is used up over time. It’s a good idea to replace it once a year. Use the right fluid for your brakes. DOT and mineral oils are not interchangeable!
• If you’ve changed the brake fluid but the levers feel spongy or come back to the bar, you’ll need to give the brakes a bleed to get air out of the system.

In part two of our Workshop 101, Bastien shows you how to treat your wheels and why sprucing up your suspension might be a good idea. Plus, he gets greasy…